What Separates a $3 Plate from a $30 Plate?
You've tasted both. The $3 plate looked sad on the menu — poorly lit, off-angle, a little gray. The $30 plate? Glistening. Perfectly framed. Styled so well you could almost smell it through the screen. The food itself? Nearly identical.
That gap is photography. And for restaurants today, it translates directly into revenue.
According to Grubhub, adding photos to menu items increases their sales by as much as 30%. A separate study found that 75% of consumers say food photos influence where they choose to eat. This is not a nice-to-have anymore. It's a competitive baseline.
The good news: you don't need a six-figure studio budget to get there. You need the right techniques — and to apply them consistently. Here's what actually works.
1. Get the Lighting Right First
Lighting is the single most impactful variable in food photography. Get it right, and even a modest dish looks inviting. Get it wrong, and even a Michelin-starred plate looks like a mistake.
Natural light is your best free tool. Position your dish near a large window with indirect daylight — bright overcast skies are ideal because they act as a natural softbox, diffusing harsh shadows. Avoid direct sunlight, which creates blown-out highlights and unflattering shadows.
If you're shooting in the evening or in a windowless kitchen, invest in a continuous LED panel light with a diffuser. Position it at 45 degrees to the side and slightly behind the dish to create depth and dimension. A white foam board on the opposite side bounces light back and fills shadows.
What to avoid: overhead fluorescent kitchen lighting. It flattens the dish, casts greenish tones, and makes everything look cold and unappetizing. Turn it off during any shoot.
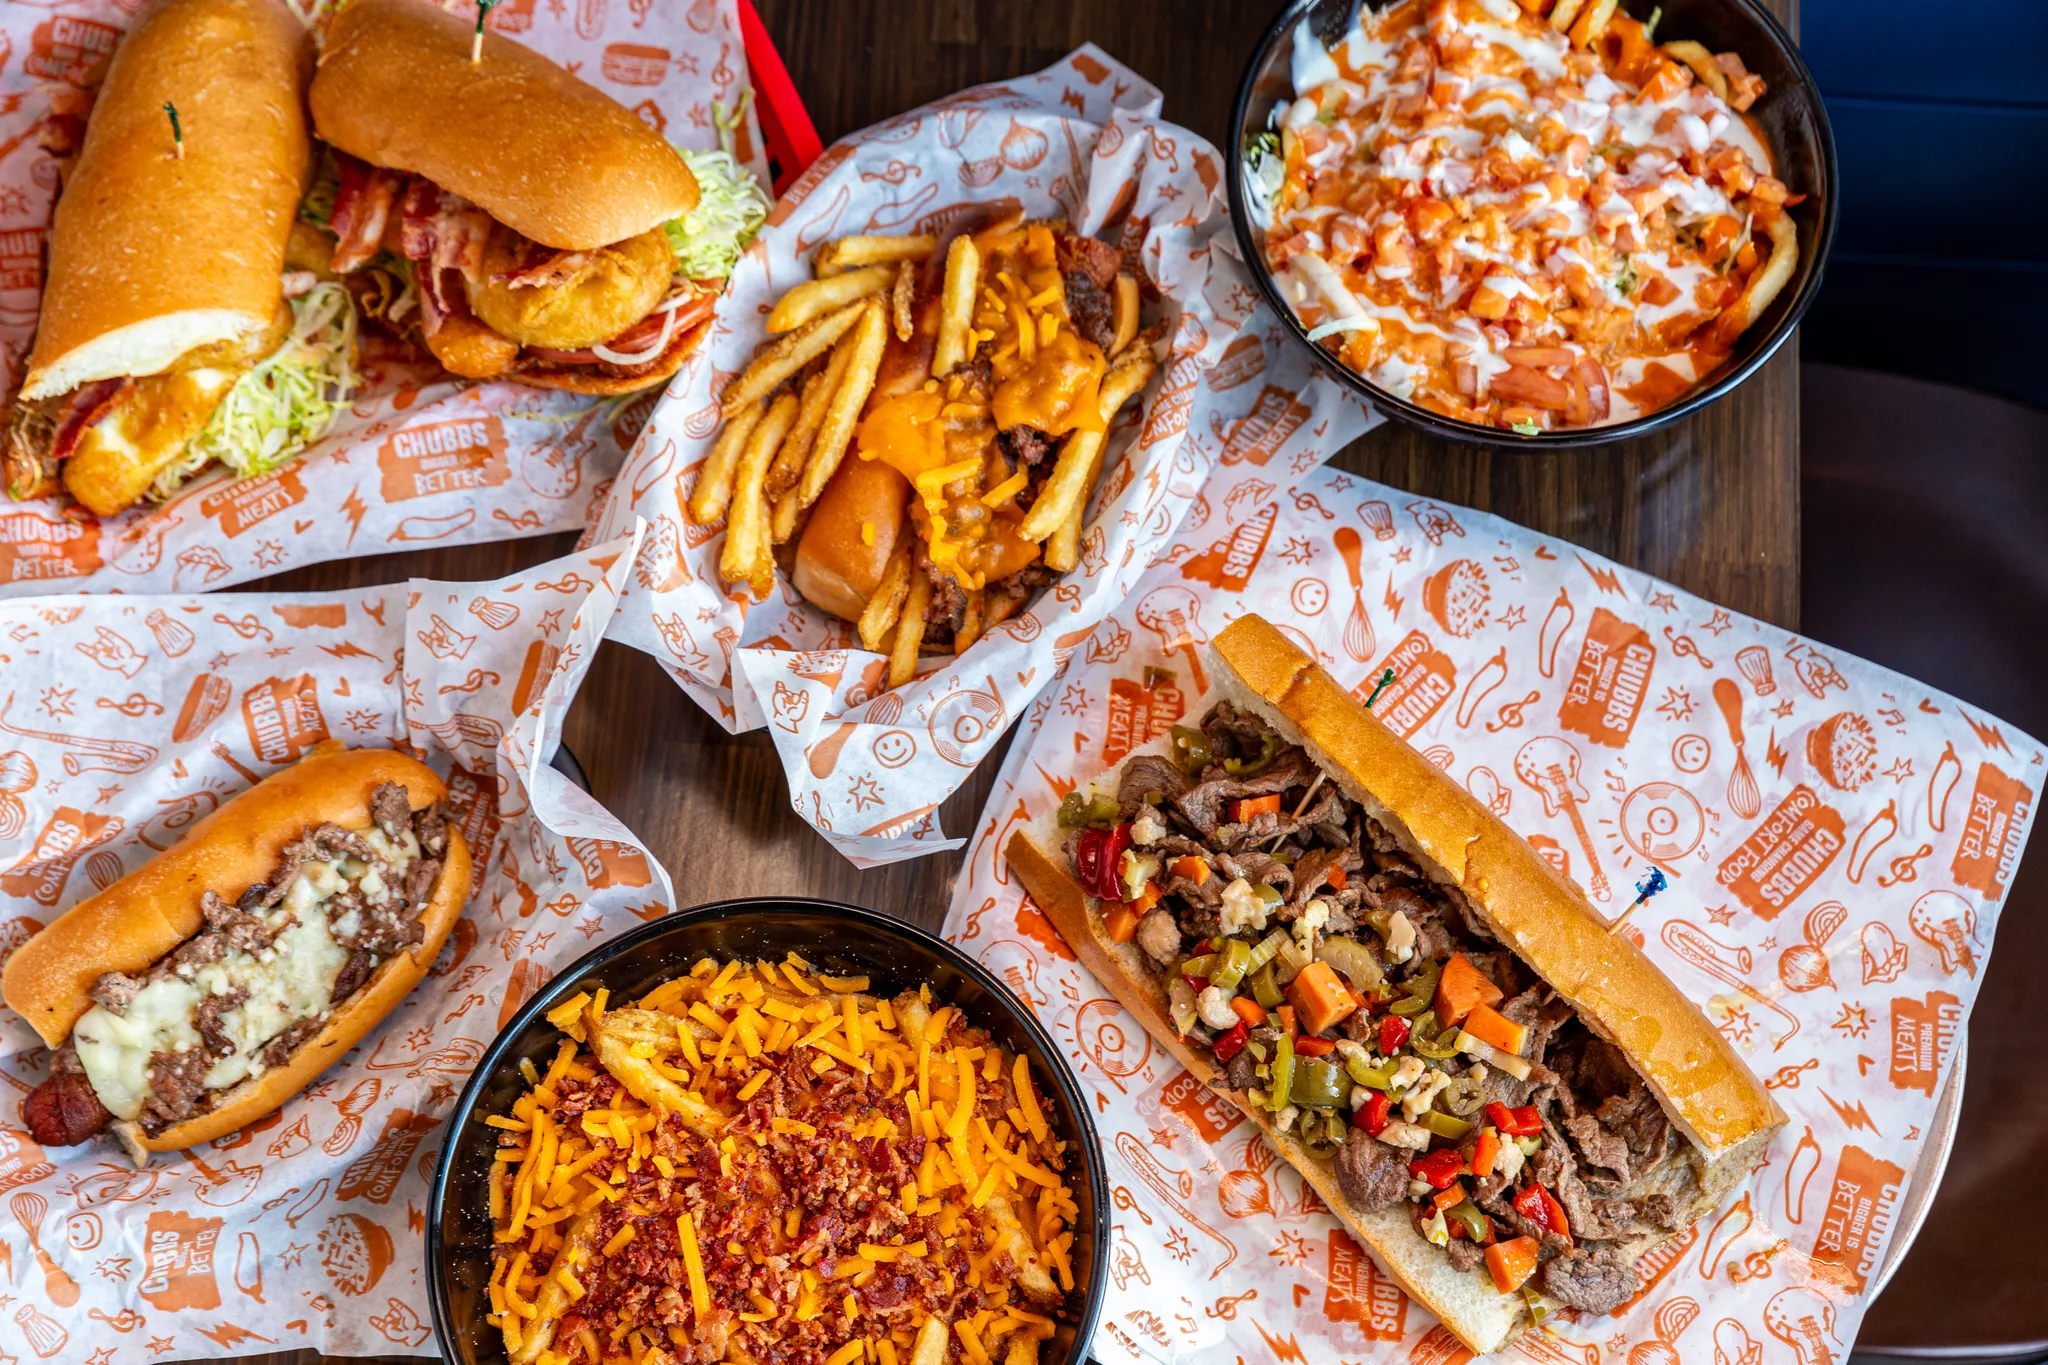
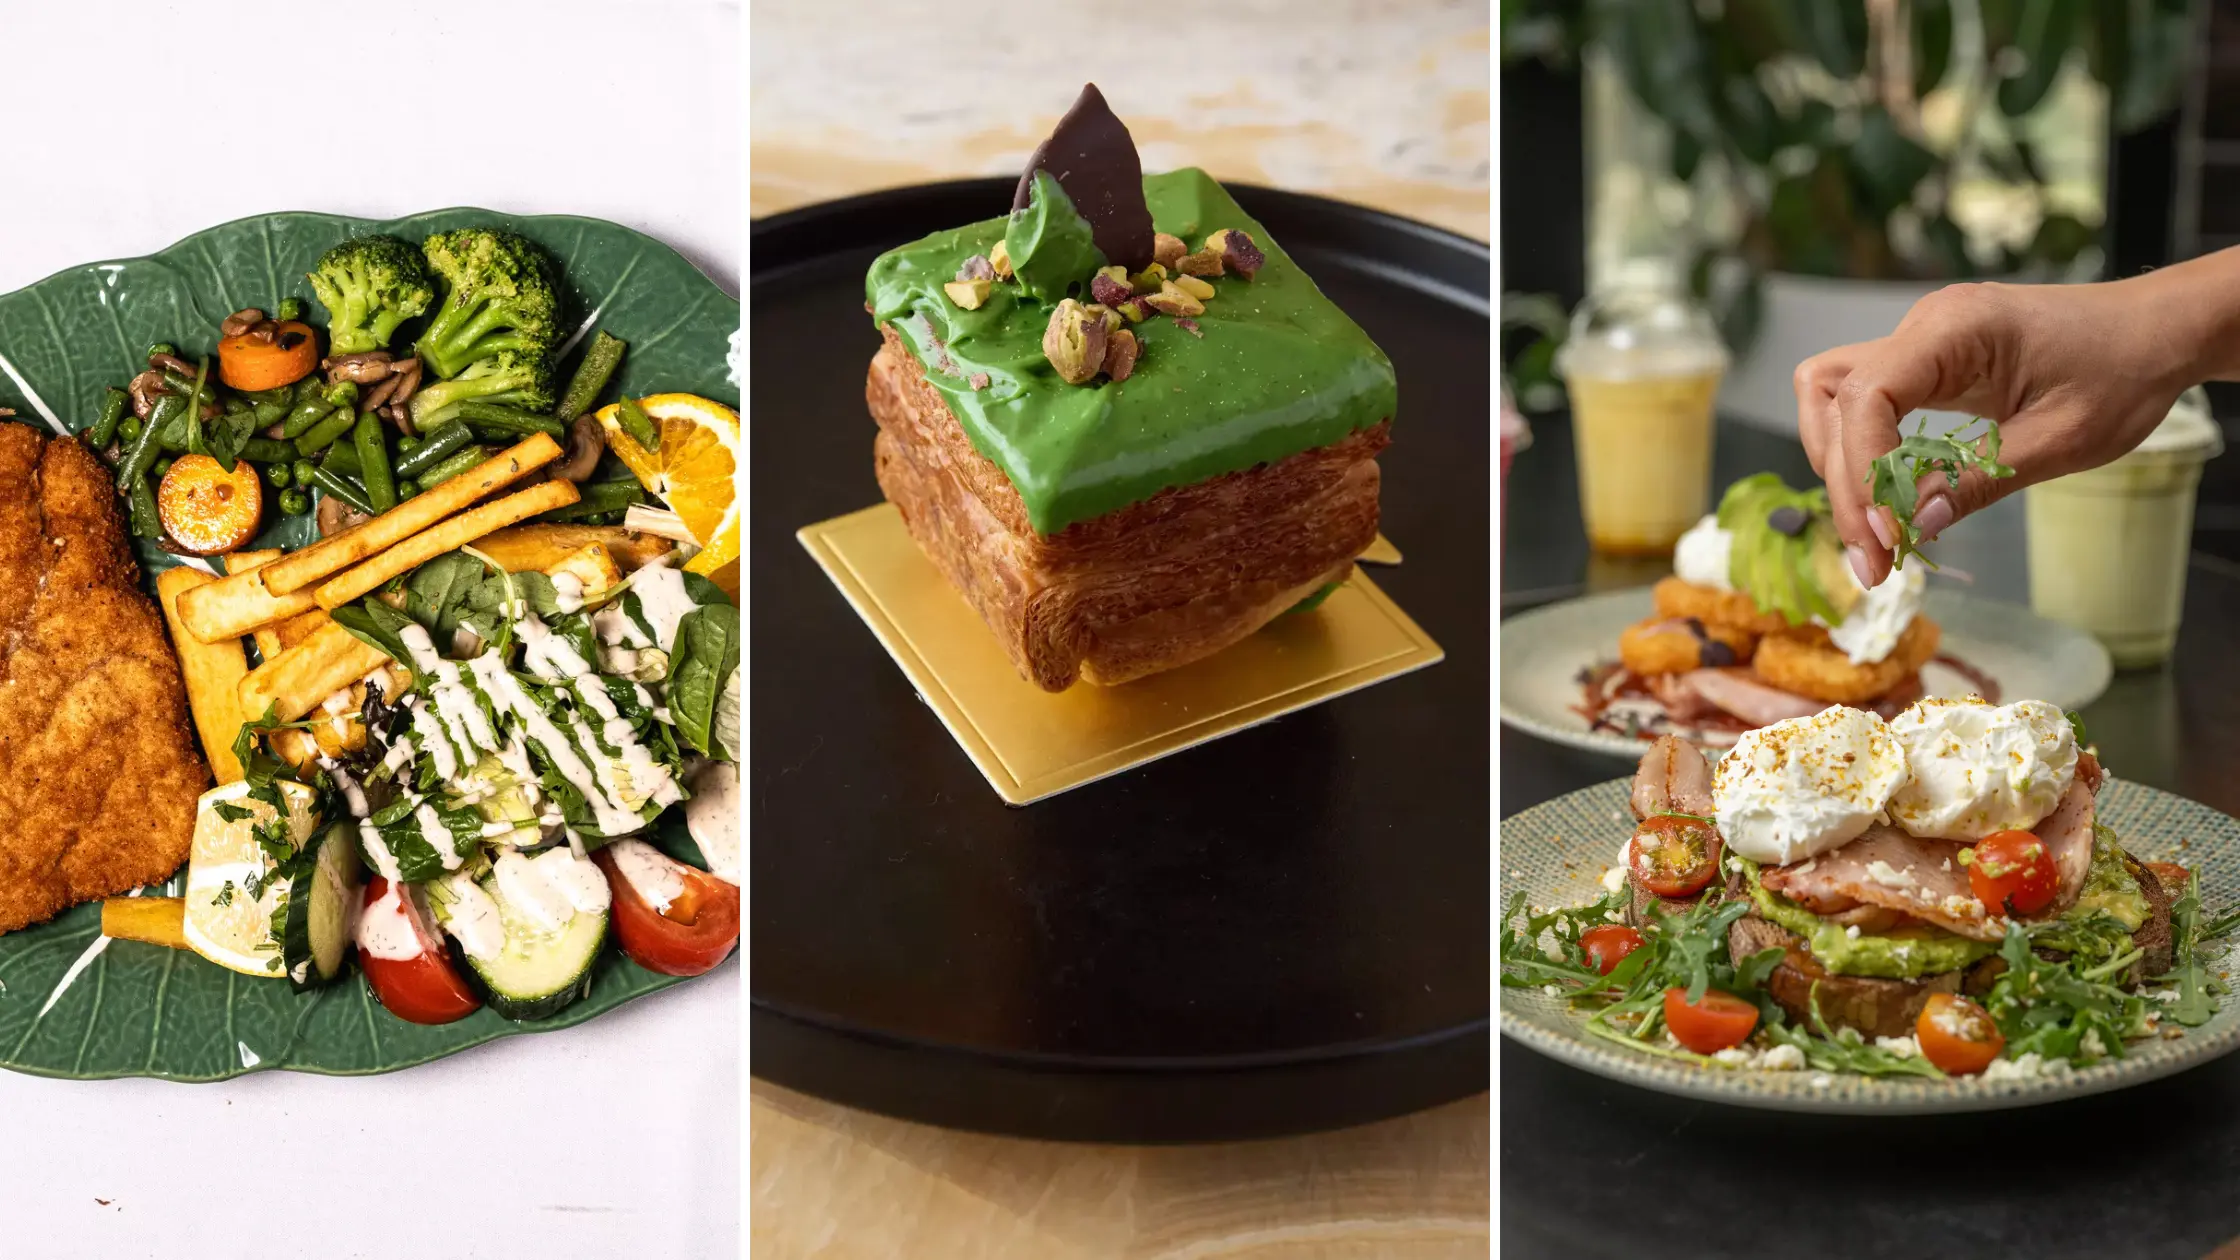
2. Master the Three Core Angles
Composition is about how you frame the story of the dish. Three angles cover the vast majority of food photography situations:
Overhead (flat-lay) works best for dishes with visual complexity at the surface level — pizzas, charcuterie boards, grain bowls, sushi. The viewer sees the full spread. Shoot directly above with your camera parallel to the surface.
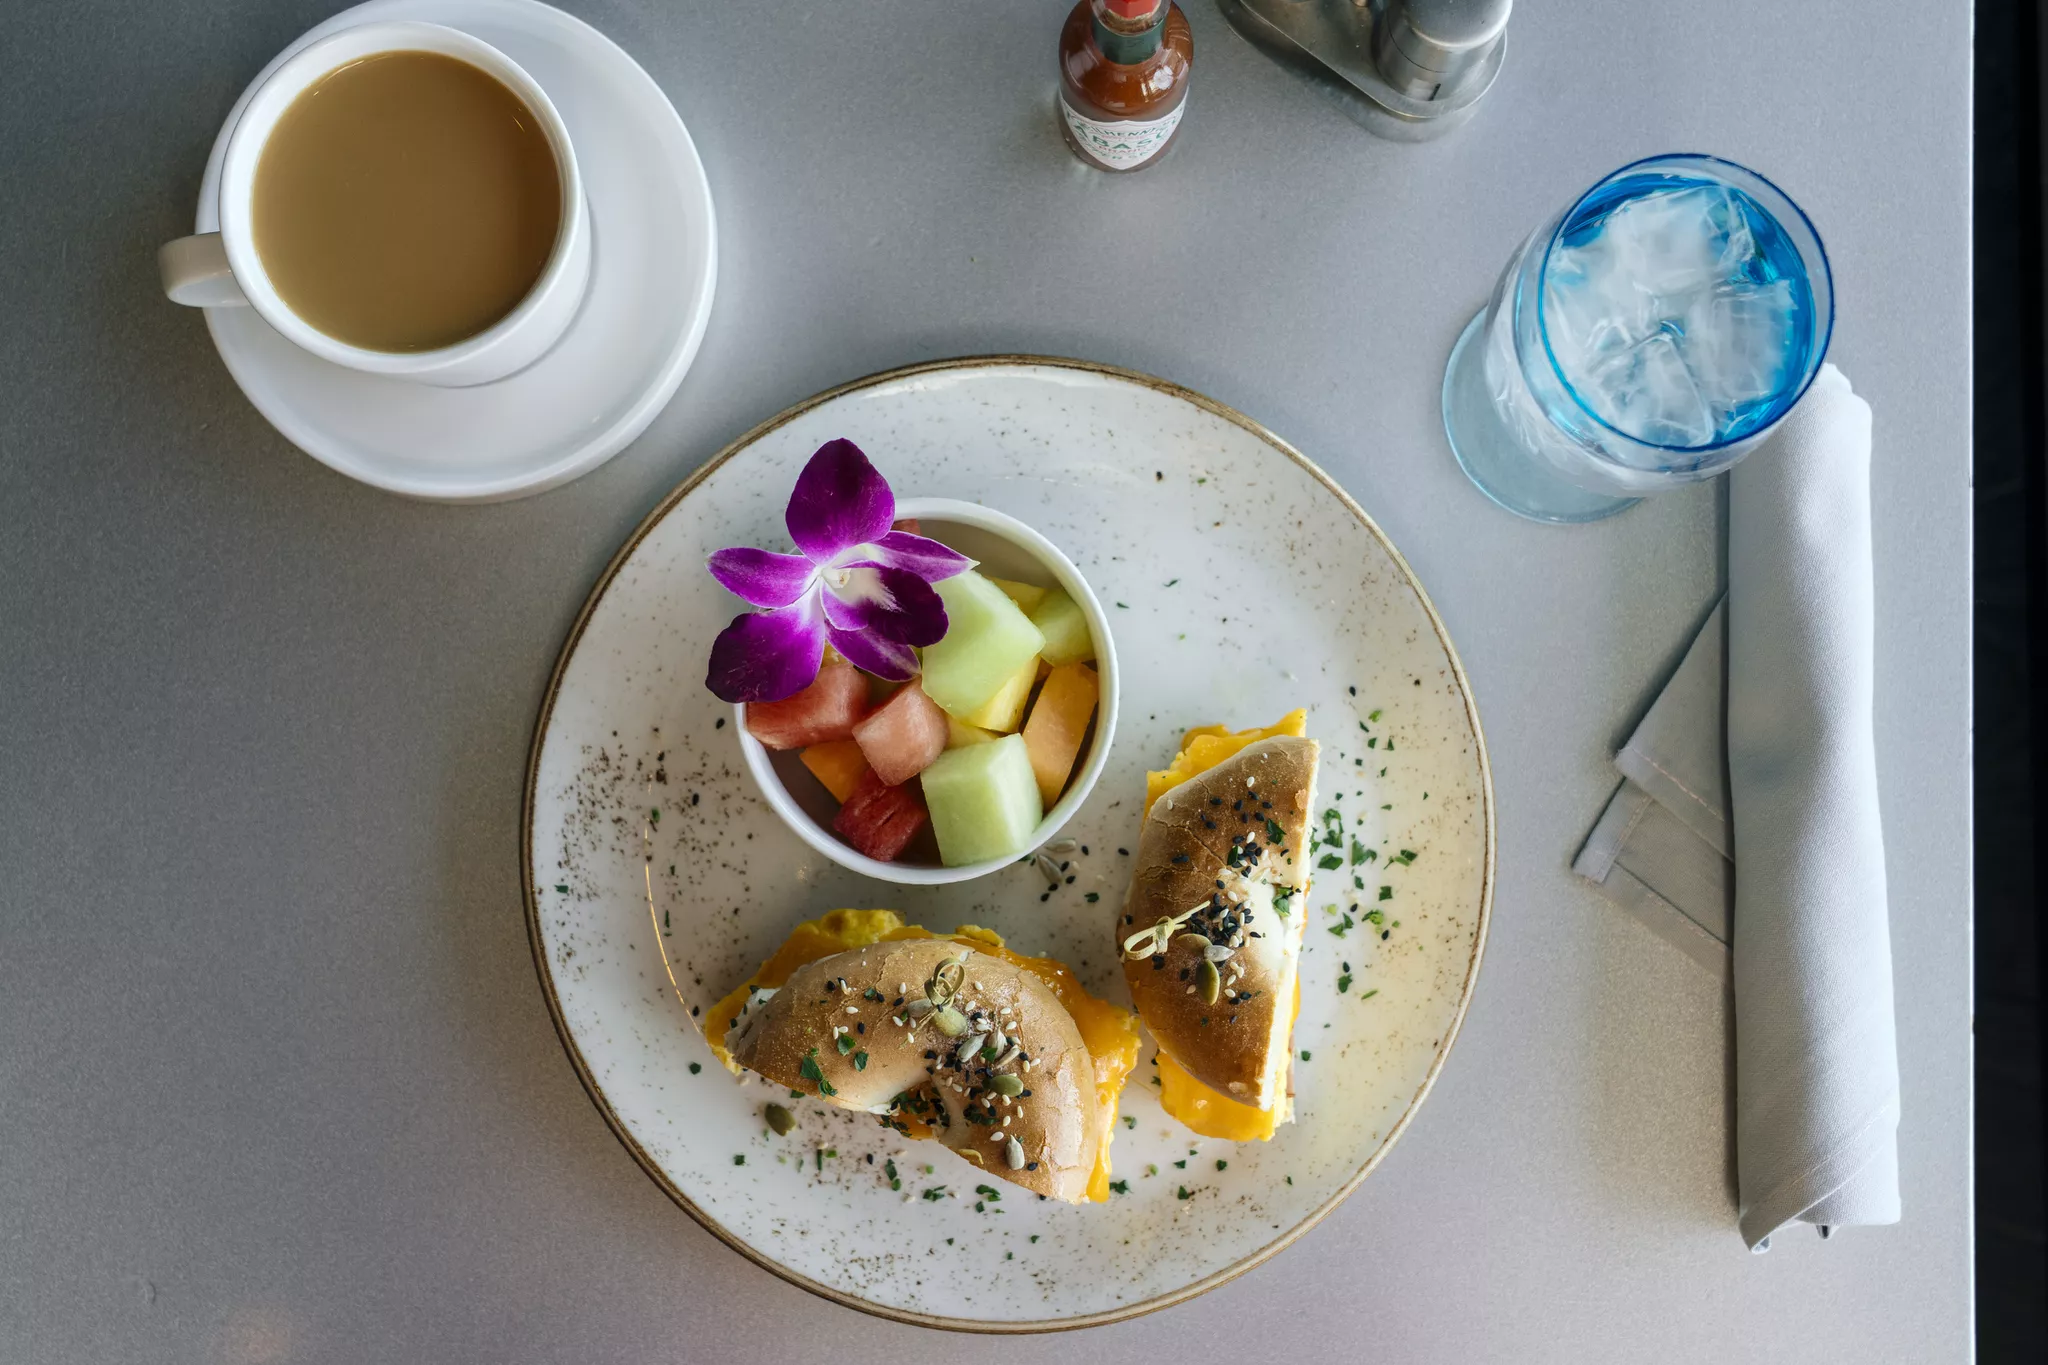
45-degree angle mimics how a person looks at their food when seated. It works well for burgers, stacked sandwiches, pasta, and any dish where height tells part of the story. This is the most versatile angle and usually the safest bet for delivery apps.
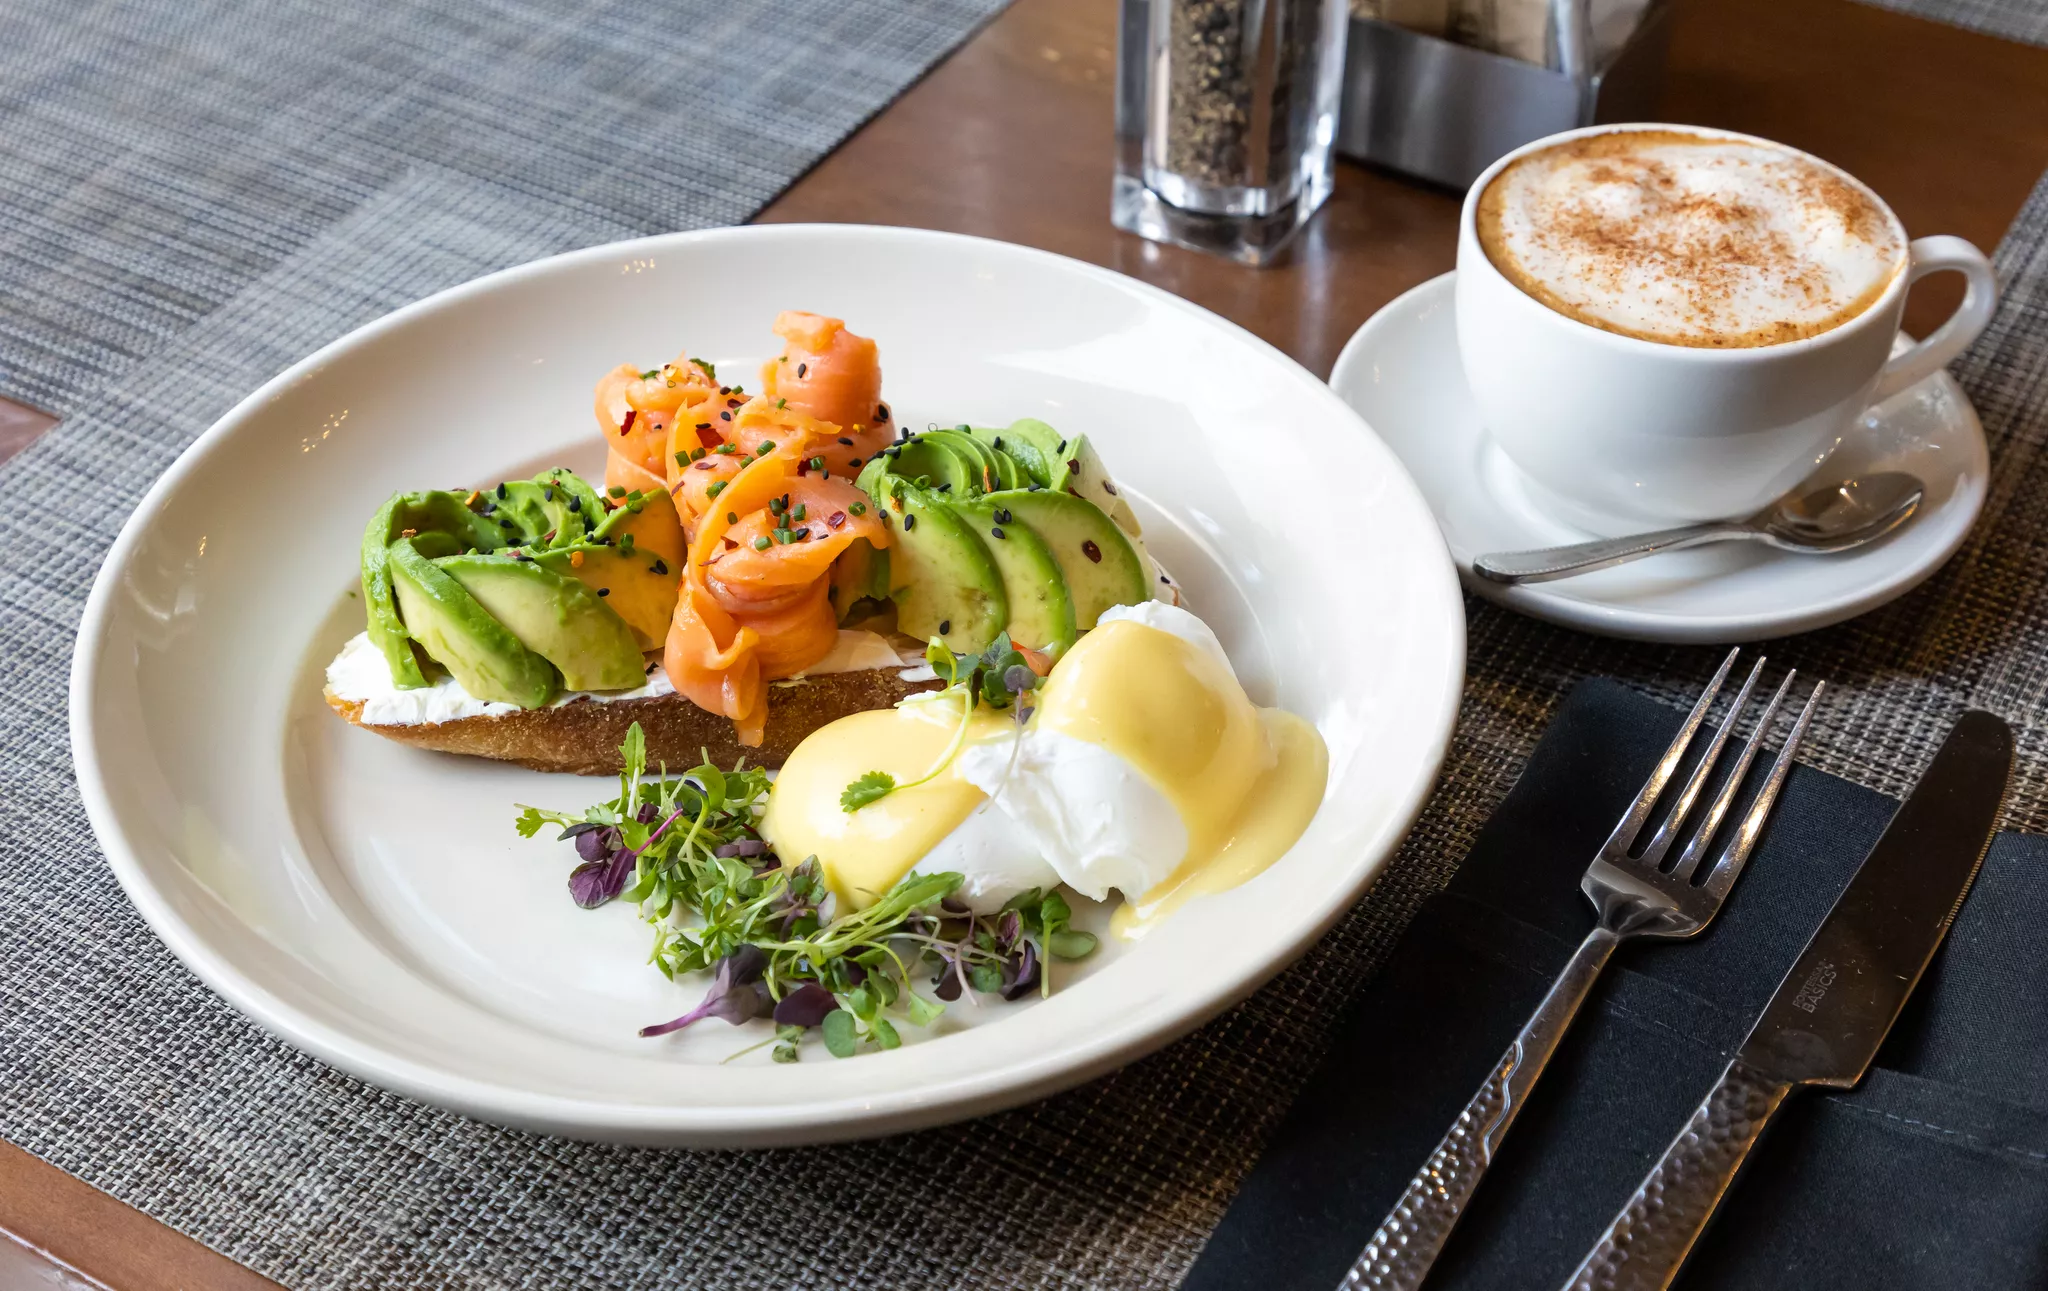
Eye-level (front-on) is best for cocktails, layered desserts, and anything with dramatic height or visible cross-sections: think a cake slice or a smash burger. It creates intimacy and draws the viewer in.
Most menus need all three depending on the dish. The mistake most restaurants make is defaulting to one angle for every item, which creates a monotonous menu that feels lazy regardless of the food quality.
3. Style the Dish Before You Touch the Camera
Food styling is the art of making food look as good in a photo as it does in person — sometimes better. A few techniques make an outsized difference:
Add height and texture. A flat dish looks forgettable. Stack, lean, or layer elements to create visual interest. A few herbs placed deliberately, a drizzle applied with intention, a sauce smear instead of a puddle.
Use the rule of odds. Groups of three garnishes are more visually interesting than groups of two or four. This applies to cherry tomatoes, olives, breadsticks, and almost any topping.
Keep it real. Excessive styling crosses into deception and erodes trust. The dish in the photo should match what arrives at the table: same portion size, same components. Customers who feel misled leave bad reviews.
Wipe the plate. A single fingerprint or sauce smear in the wrong place reads as careless. Keep kitchen towels nearby and clean the plate edges before every shot.
4. Know Your Camera Settings (Even on a Smartphone)
You don't need a DSLR to shoot good food photos. Modern smartphones outperform entry-level cameras in many lighting conditions. The key is knowing how to use them.
On a smartphone: disable the HDR auto-mode and shoot in portrait mode for shallow depth of field. Tap on the food to set the focus point, then slide down to reduce the exposure slightly — most phone cameras overexpose food. Shoot in RAW if your phone supports it; it preserves far more editing latitude.
On a DSLR or mirrorless camera: a 50mm or 85mm lens is ideal for food because it closely approximates human eye perspective without distortion. Shoot at f/2.8 to f/4 for a slightly blurred background that keeps attention on the dish. Keep ISO below 800 to minimize grain.
Post-processing matters. Even a well-shot photo benefits from 5–10 minutes in Lightroom or Snapseed. Increase clarity and texture slightly, add a touch of warmth, and lift the shadows. The goal is to match what your eye saw, not to create something artificial.
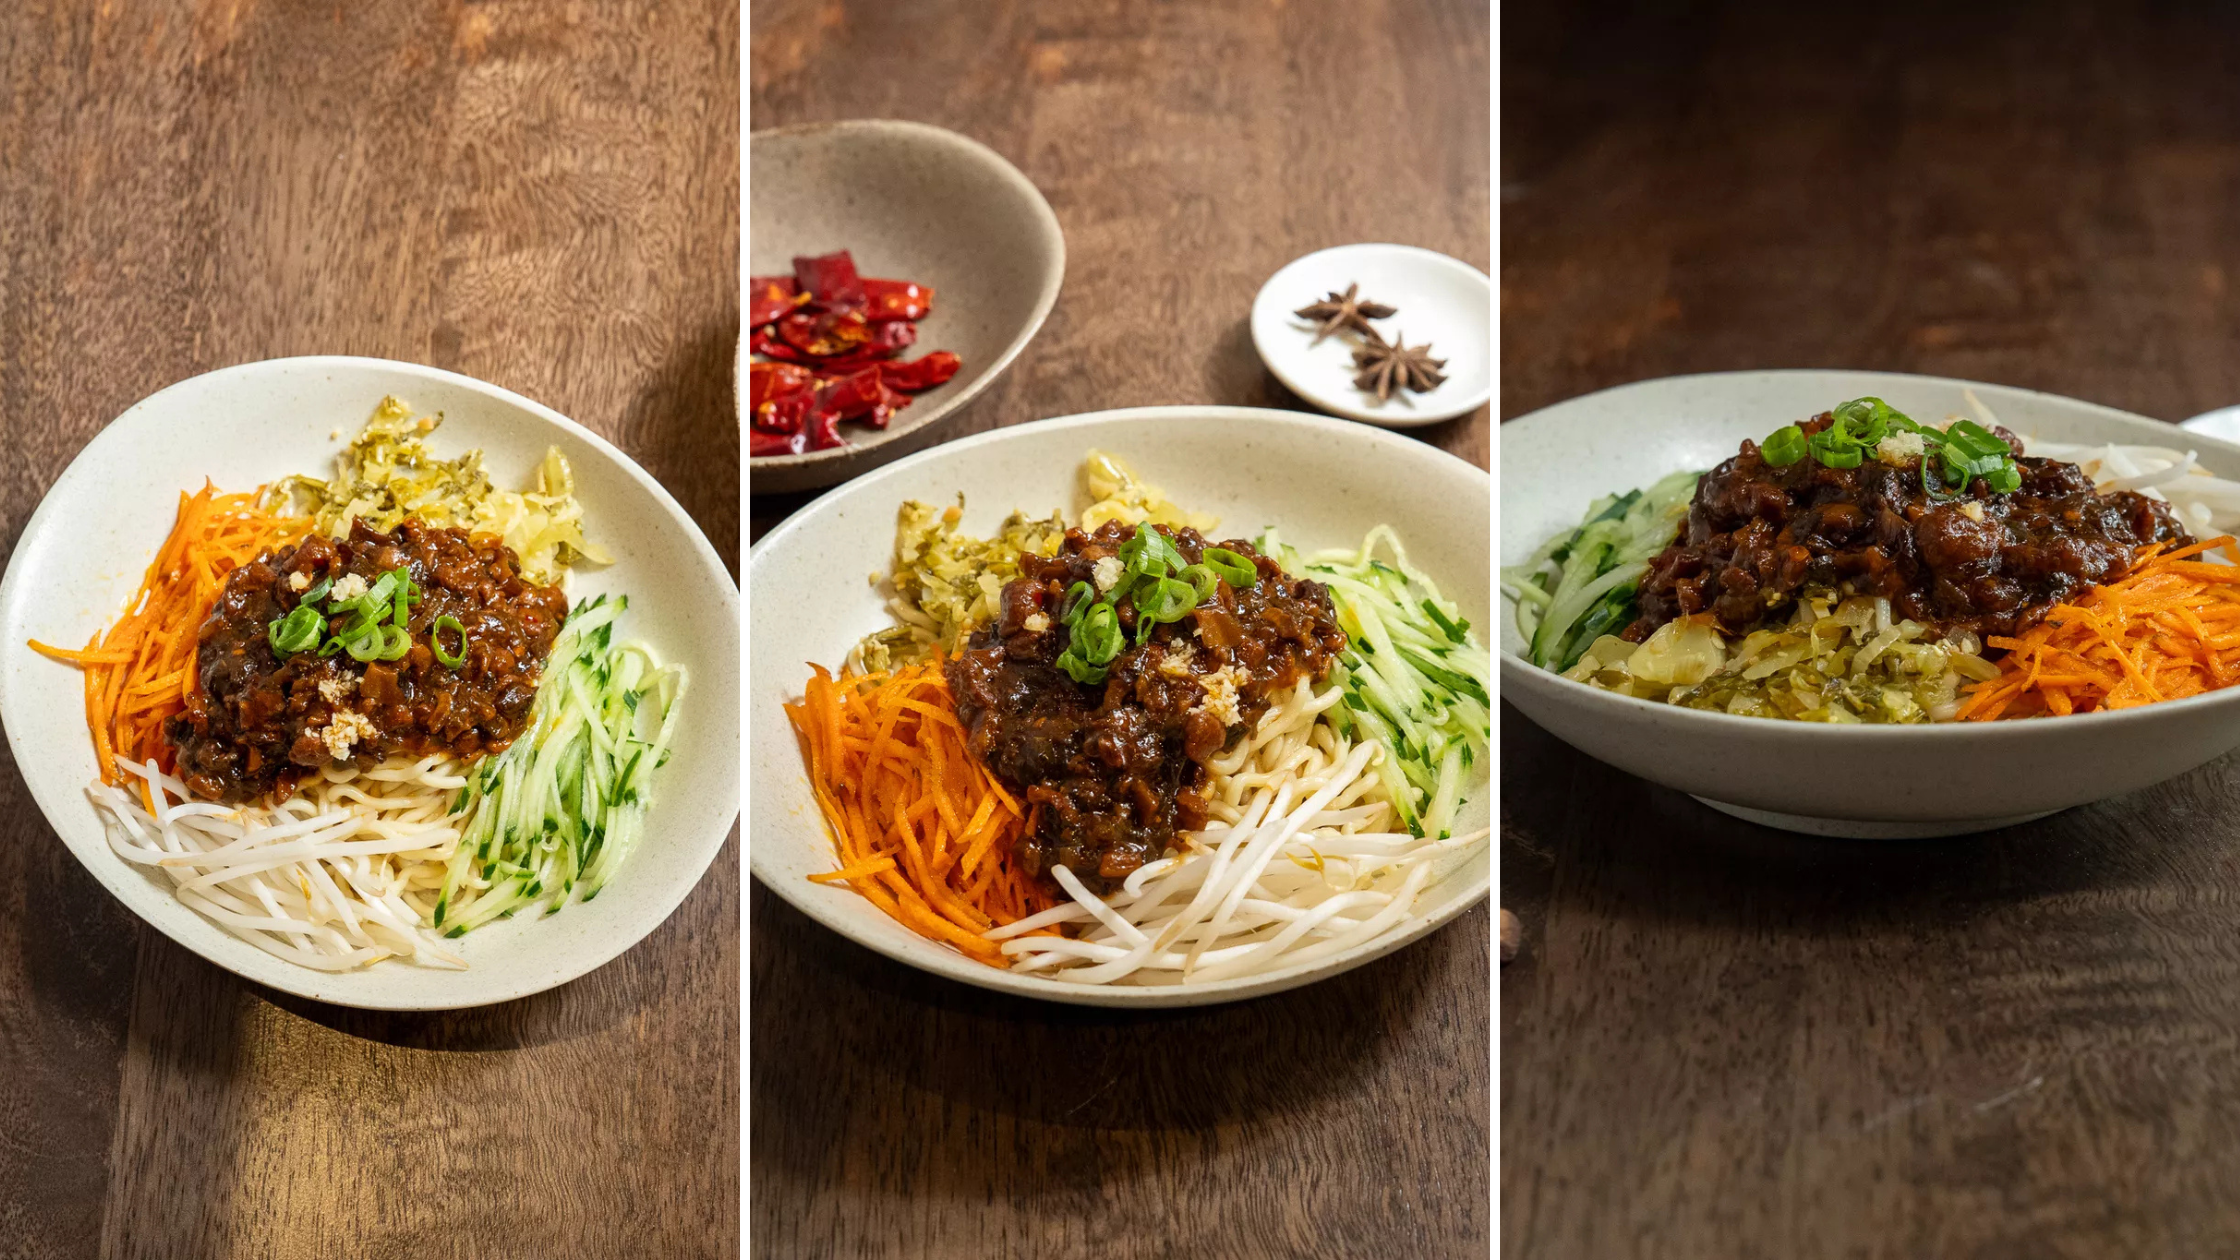
5. Consistency Beats Perfection
One great photo doesn't move the needle. A menu where every single item looks great does. That's the real benchmark — and it's where most restaurants fall short.
As we've covered in our breakdown of high-quality food photos and their impact on delivery apps, the lift from professional photography compounds across your whole menu. It's not just the hero items — it's the sides, the drinks, the specials. 53% of social media users say food photos inspired them to try a new recipe or dish, and that social scroll pulls from your full menu, not just the dish you promote.
Consistency means: the same background or surface across similar items, the same lighting setup, the same editing treatment. This is easy when you're shooting 5 dishes. It gets hard at 50. At 200 it becomes a genuine operational challenge.
That's where the approach to food photography changes. What looks like a photography problem is actually a workflow problem: who books the photographer, how do shoot guidelines get communicated, how do finished images get delivered to the right places across multiple locations?
This is what platforms like Snappr are built for. Snappr's network covers 95% of US geography, meaning a shoot can be booked at any location with as little as 2 hours' notice. Custom shoot guidelines are created once and applied to every shoot automatically — so whether you're shooting in Chicago or Charlotte, the framing, lighting setup, and editing standard match. For restaurant groups with multiple locations, or platforms managing thousands of restaurant partners, this is the difference between a scattered visual catalog and a consistent brand. You can dig deeper into the business case in our guide to professional food photography ROI.
6. Shoot with the Platform in Mind
A photo that looks great on your restaurant's website can fall flat on a delivery app — and vice versa. Different platforms have different image specs, crop ratios, and visual environments, and shooting without considering them is how you end up with beautifully framed photos that get cropped into unrecognizable squares.
Delivery apps like DoorDash and Uber Eats display menu item photos in tight square or portrait crops, often at small sizes on mobile. That means: fill the frame with the food. Pull in close. Don't leave generous negative space you'd want for a print layout. The dish needs to read clearly at thumbnail size, which means avoiding overly dark backgrounds and intricate garnishes that disappear at small resolutions.
Social media has its own logic. Instagram and TikTok reward visual drama — strong contrast, bold colors, visible texture. Overhead flat-lays perform well for static posts. Vertical video (Reels, TikTok) is where you can show process: a sauce pour, a cross-section cut, a plated dish coming together. These are not afterthoughts; 40% of people have tried a new restaurant after seeing food photos on social media, which means social content is actively filling your dining room.
Your own website gives you the most creative latitude. Wider aspect ratios, more contextual backgrounds, lifestyle shots of people eating. This is where you can show the full experience of the dish, not just the dish itself.
The practical implication: shoot more than you think you need. Capture the same dish at multiple crop ratios and compositions in a single session. It costs almost nothing extra during the shoot and gives your team the flexibility to use the right image for the right platform without going back to reshoot.
Ready to bring professional-quality food photography to every location, every shoot, every time? The Snappr team is available to discuss your needs — whether that's five dishes or five hundred.


