
The camera doesn't lie, it just exaggerates
You know the photo. Shoulders square to the lens, arms pinned to your sides, a smile you've been holding for eleven seconds while someone fiddles with the settings. It's you, technically. It just doesn't look like you.
Here's the thing: the problem is rarely your face. It's geometry. A camera flattens three dimensions into two, so anything pointed straight at the lens looks wider, anything pressed together merges into one shape, and anything held too long goes stiff. Photogenic people aren't luckier. They've learned, on purpose or by accident, a handful of moves that work with the camera instead of against it.
It matters more than it seems, because people judge photos fast. Princeton researchers Janine Willis and Alexander Todorov found that judgments of attractiveness, likeability, trustworthiness, competence and aggressiveness made after a 100-millisecond look at a face correlated highly with judgments made with no time limit at all. A tenth of a second is roughly all a pose gets to make its case.
The camera itself pushes things around too. A Rutgers and Stanford model published in JAMA Facial Plastic Surgery found that a selfie taken about 12 inches from the face makes the base of the nose look around 30 percent wider than a photo taken from 5 feet. Same face, different distance, different picture.
This guide covers the photo poses that fix that. First the universal principles that work for any body, any age and any shoot. Then expression, because a great pose with a frozen smile is still a bad photo. Then the three base positions, camera angle, a quick tour of poses by subject with links to our detailed guides, and how to work with a photographer so you're not guessing on the day.
Why a pose changes how people read you
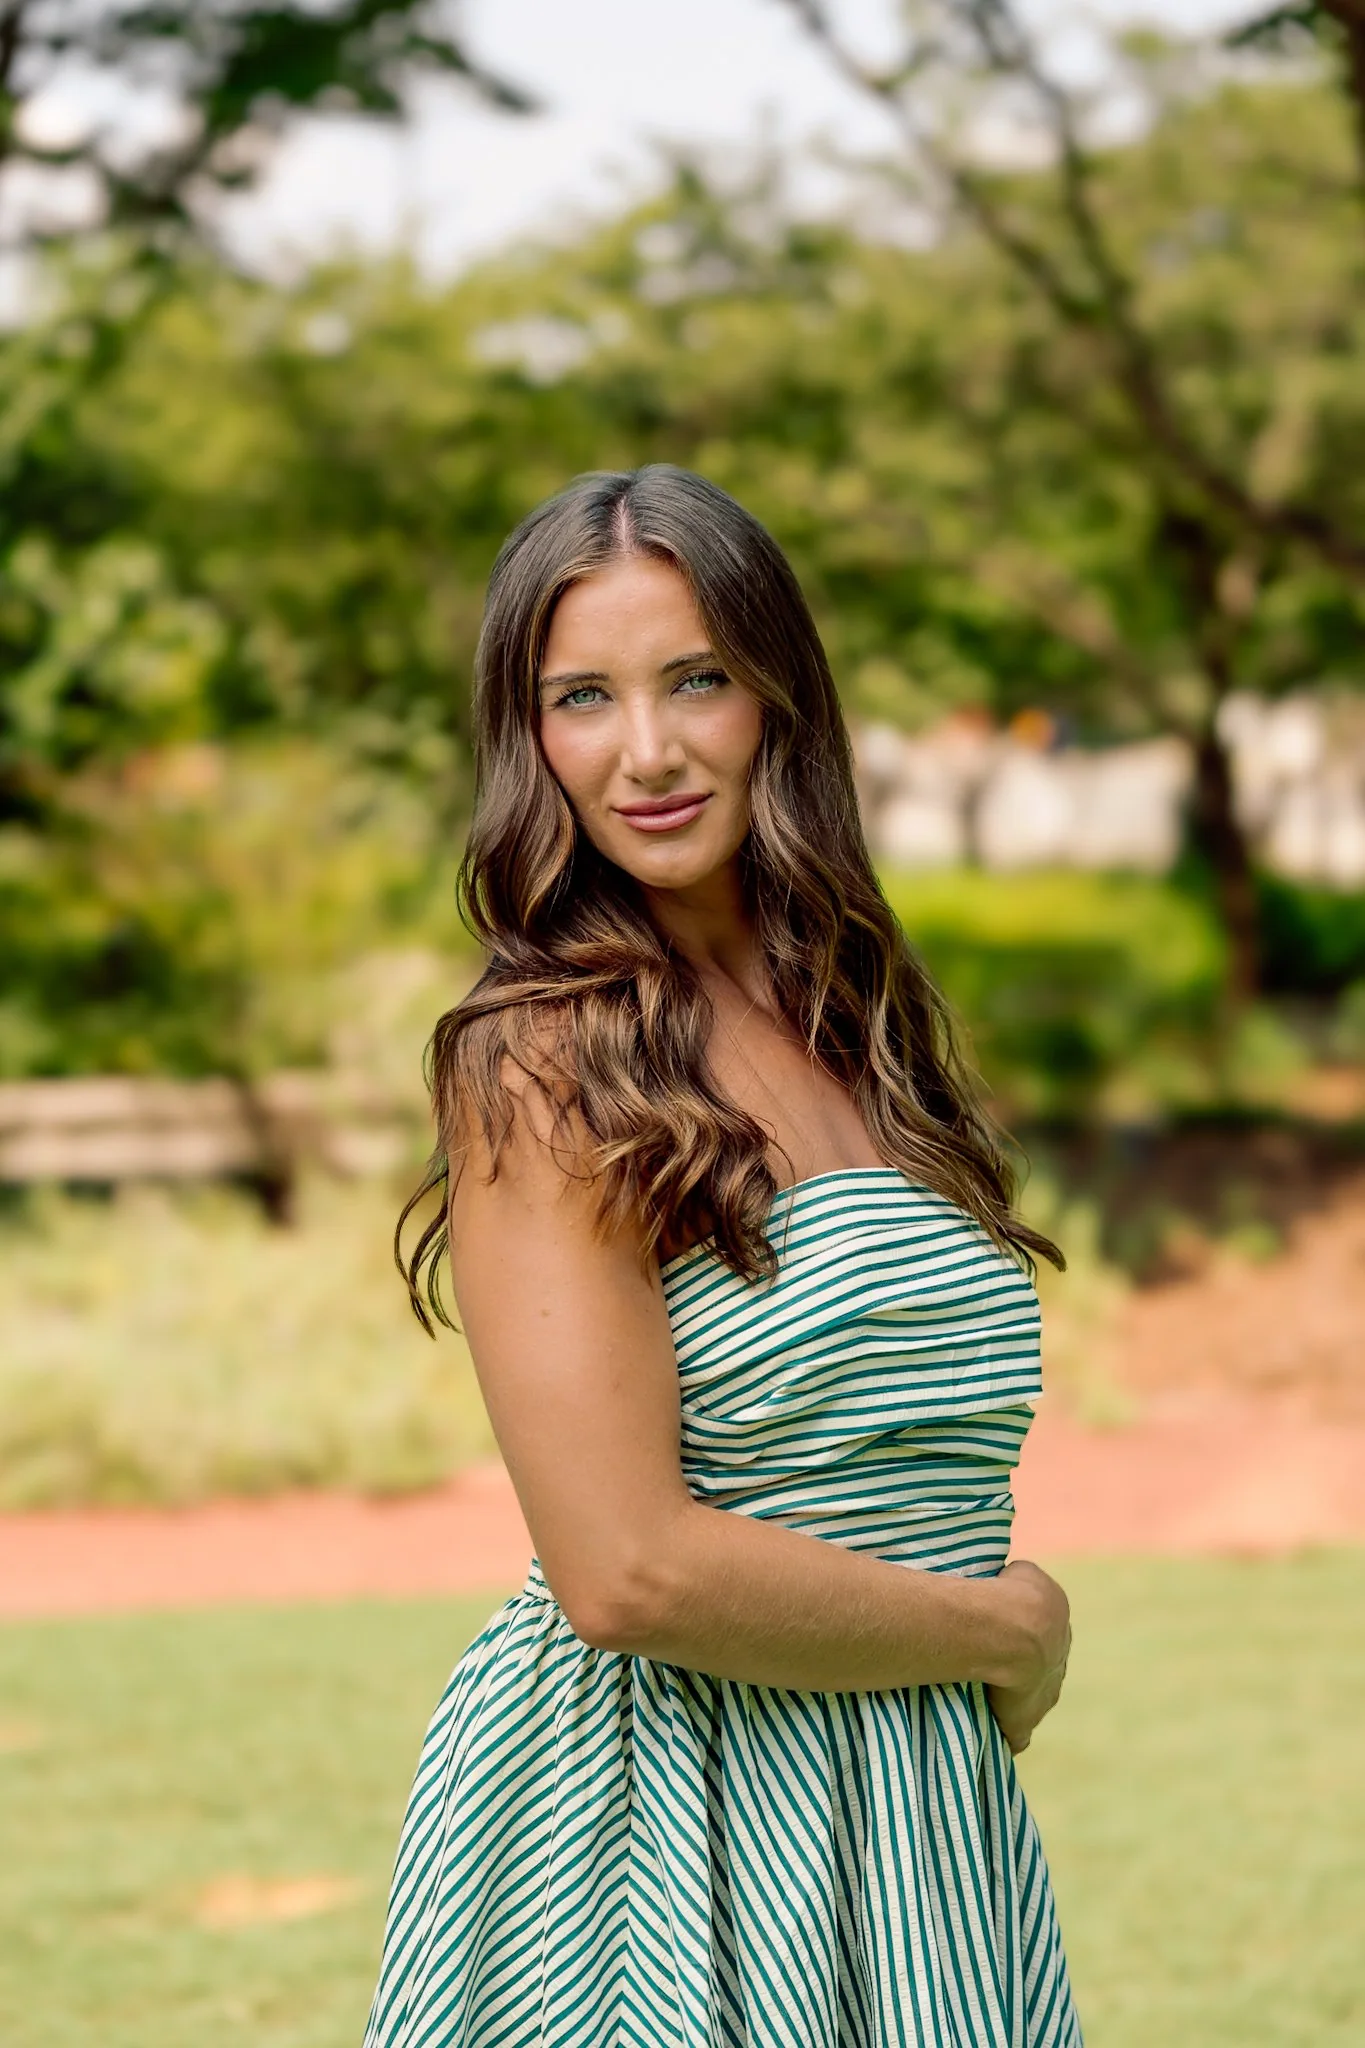
Posing sounds like vanity. In practice it's closer to editing: you're choosing what a stranger notices in that first tenth of a second. And the effects are measurable.
Small changes, measurable shifts
Photofeeler, a photo-rating platform, analyzed more than 60,000 ratings of perceived competence, likability and influence across 800 profile photos to isolate which controllable details changed how people were judged. Its biggest single finding was about the smile. A smile with teeth visible added an average of 1.35 points to likability, while a closed-mouth smile had about half that effect on likability. Push it into a full laugh and likability rose further, to 1.49, but the gains in perceived competence and influence disappeared.
Framing mattered as well. In the same Photofeeler study, face-only close-ups lowered likability scores by an average of 0.21, and full-body shots lowered competence and influence by 0.29, with head-and-shoulders or head-to-waist framing performing best. That's a useful reminder that the best pose depends on what the photo is for.
Head position sends a signal
Where your chin points carries meaning too. In a study published in the Journal of Nonverbal Behavior, Mignault and Chaudhuri showed 3-D models of faces to 64 participants and found that a bowed head was read as more submissive and sad, while a raised head was read as more dominant and prouder, and also happier. A neutral face, tilted a few degrees, can say quite different things.
None of this means you need a lab coat to take a good picture. It means the small stuff photographers fuss over, a chin, a hand, the corners of the eyes, is the stuff viewers actually respond to.
The six principles behind every good photo pose
Every pose you'll ever see on a mood board is some combination of these six moves. Learn them once and you can improvise the rest.
1. Turn about 45 degrees away from the camera
Standing square to the lens shows the widest version of your body. Rotate your hips and shoulders roughly 45 degrees away, then turn your face back toward the camera. You get depth, a narrower silhouette and a more relaxed look in one move. It's the first rule in nearly every posing guide, and for good reason.
2. Put your weight on your back foot
Once you've turned, shift your weight onto the foot farthest from the camera and let the front knee soften. This is the classical contrapposto stance from sculpture: one hip drops, the shoulders tilt slightly the other way and the whole body picks up a gentle S-shape instead of a straight line. Locked knees and even weight read as stiff. A weight shift reads as someone who was caught mid-moment.
3. Leave space between your arms and your body
Arms pressed flat against the torso merge into one wide block. Bend the elbows slightly and leave a small gap between arm and waist so light can get through. Photographers talk about "triangles" here: any bend in an elbow, knee or wrist creates a small angled shape that gives the eye something to follow.
4. Give your hands a job
"What do I do with my hands?" is the most common question at any shoot. The answer is to give them something to do, lightly. Slide a thumb into a pocket, hold a jacket lapel, rest a hand on a railing, hold a coffee cup, touch your collar or tuck hair behind an ear. Keep the touch soft, show the side of the hand rather than a flat palm or a fist, and avoid gripping anything as if it might escape.
5. Chin forward and slightly down
Most people lift their chin when they feel self-conscious, which shortens the neck and shows the underside of the jaw. Instead, push your forehead gently toward the lens and tip the chin down a touch. It feels odd and looks great, defining the jawline and bringing the eyes forward. Photofeeler's data backs the detail: a visible shadow line along the jaw raised competence scores by an average of 0.24. Our guide to headshot poses goes deeper on the chin, shoulder angle and expression for close-up work.
6. Find your best side (it may be your left)
Most people have a side they prefer, and there's a pattern behind it. Researchers led by Michael Nicholls, writing in Proceedings of the Royal Society B, found that portraits typically show more of the sitter's left cheek, with the head turned slightly to the sitter's right. When they asked people to pose for a family portrait and show as much emotion as possible, participants tended to present their left side. When asked to pose as scientists and hide emotion, they turned the right side forward. In practice: try both sides early in a shoot, and favor the left cheek for warm, expressive photos and the right for cool, composed ones.
Expression: real smiles, prompts and the squinch
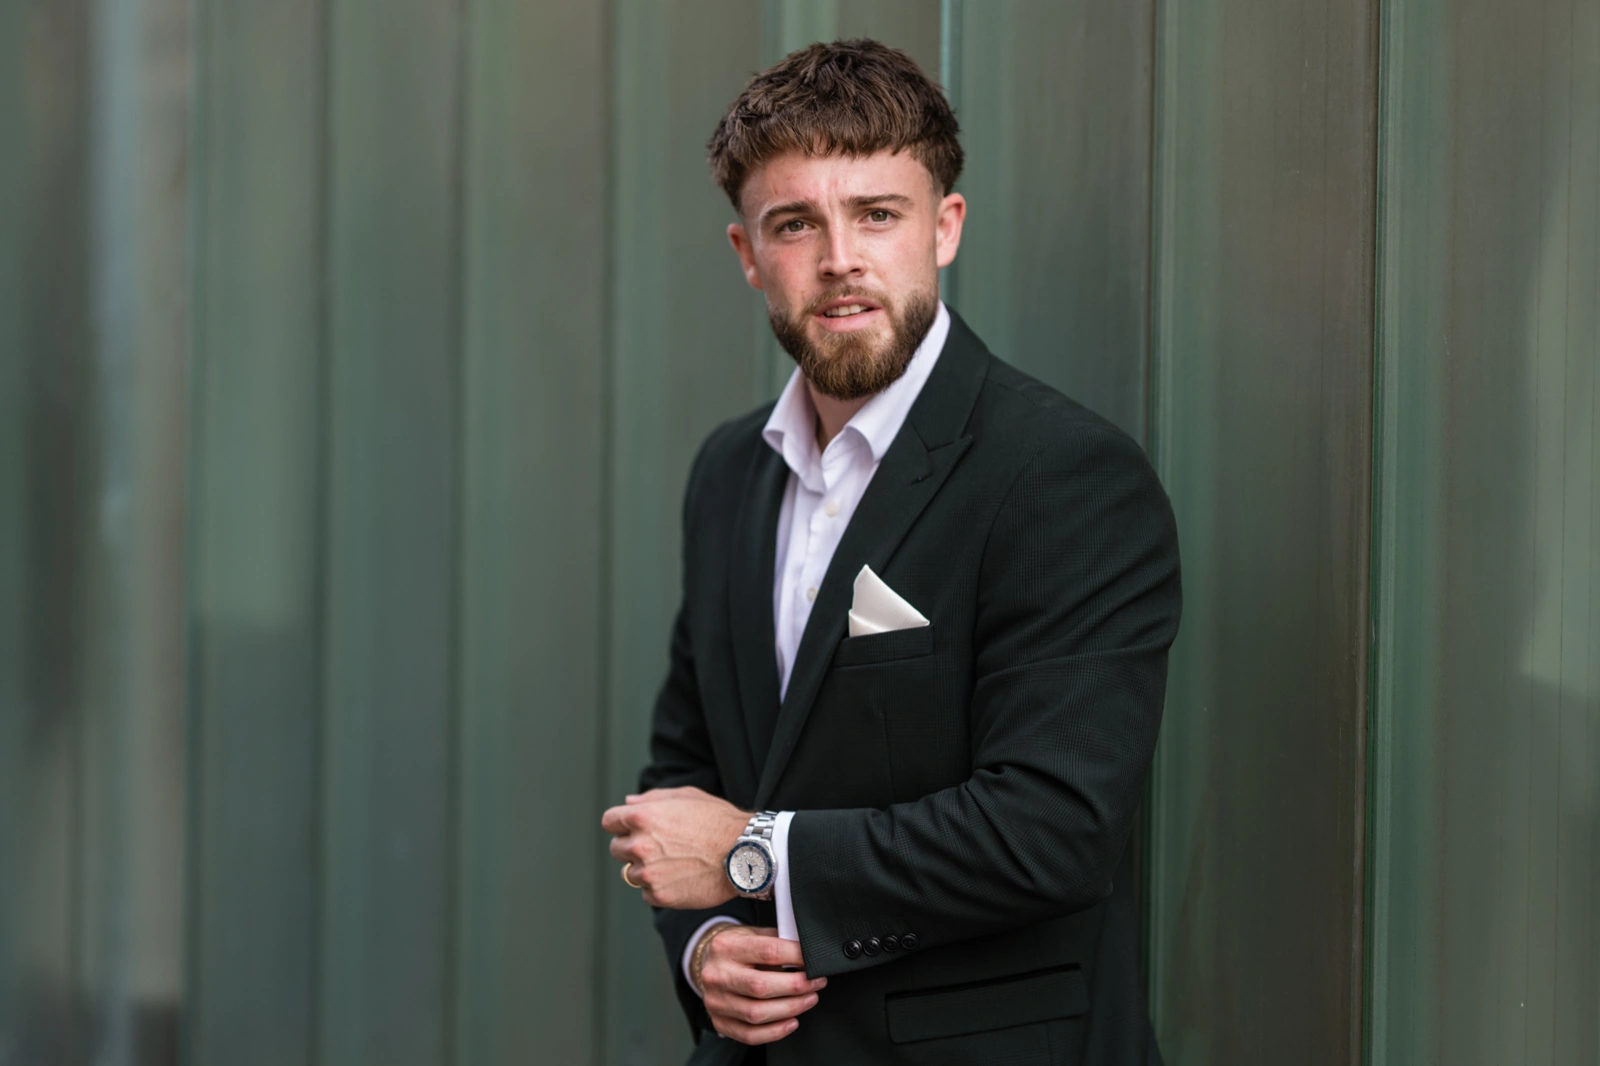
A perfect pose with a fake smile still looks like a fake photo. Expression is the part most people struggle with, and it's where a good photographer earns their fee.
Why "say cheese" fails
As far back as 1862, the French anatomist G. B. Duchenne observed that the muscle ringing the eye, the orbicularis oculi, is recruited in smiles of genuine enjoyment but not in posed ones, according to the Paul Ekman Group, which studies facial expression. That's why a held smile looks wrong even when the mouth is perfect: the eyes aren't in on it. Real smiles are also brief. The Association for Psychological Science's Observer describes a genuine smile as typically lasting from two-thirds of a second to four seconds. Hold one longer and it decays into the tight, polite version everyone recognizes from school photos.
Prompts that beat "smile"
The fix is to cause the expression rather than request it. Photographers use prompts like these:
• "Tell me about the last thing that made you laugh out loud."
• "Look away, think of someone you love, then look back at me."
• "Say the name of your first pet in a really dramatic voice."
• "Fake laugh, as badly as you can." (The fake laugh almost always turns into a real one.)
• "Breathe out through your mouth, then look up." (It drops tension from the shoulders and jaw.)
The frame you want is usually the one just after the laugh, when the eyes are still narrowed and the face is relaxing.
The squinch
Wide-open eyes tend to read as startled. Narrowing them slightly by lifting the lower lid, a move headshot photographer Peter Hurley popularized as the "squinch," reads as calm and confident. Photofeeler tested it on its own data and found that squinching raised perceived competence by an average of 0.33 and influence by 0.37, on a scale that runs from -5 to +5. It's a tiny change that pairs well with a real smile, since genuine enjoyment narrows the eyes anyway.
Standing, sitting and walking: the three base positions
Almost every pose starts from one of three positions. Get each one right and you can build variations on the spot.
Standing
Start with the 45-degree turn and the back-foot weight shift. From there, try crossing the front foot over at the ankle, leaning a shoulder against a wall, or hooking one thumb in a pocket. Keep the shoulders down and away from the ears. If you're next to a wall or doorway, use it; leaning takes the pressure off holding yourself up and looks more relaxed instantly.
Sitting
The common mistake is sinking back into the seat, which compresses the torso. Instead, sit toward the front edge of the chair, keep your back long and lean slightly forward from the hips. Angle your knees away from the camera rather than pointing them straight at it, and cross your ankles or legs to add shape. Stairs, low walls and the edge of a sofa all give you options at different heights.
Walking and movement
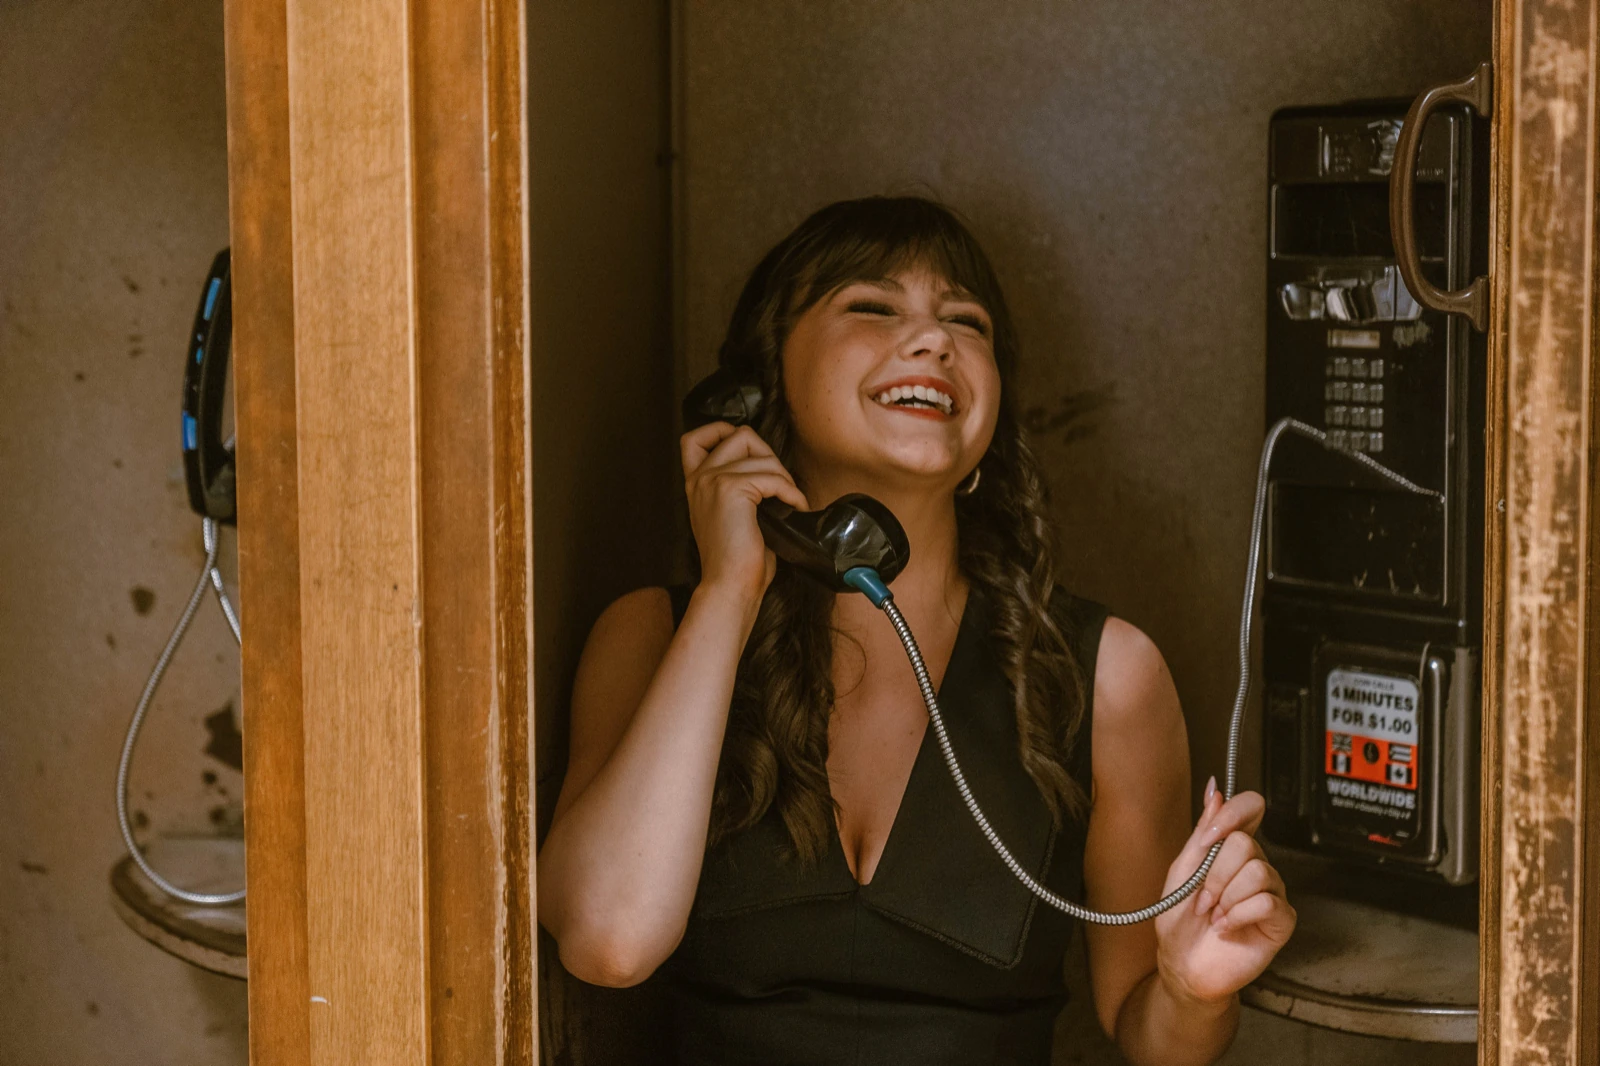
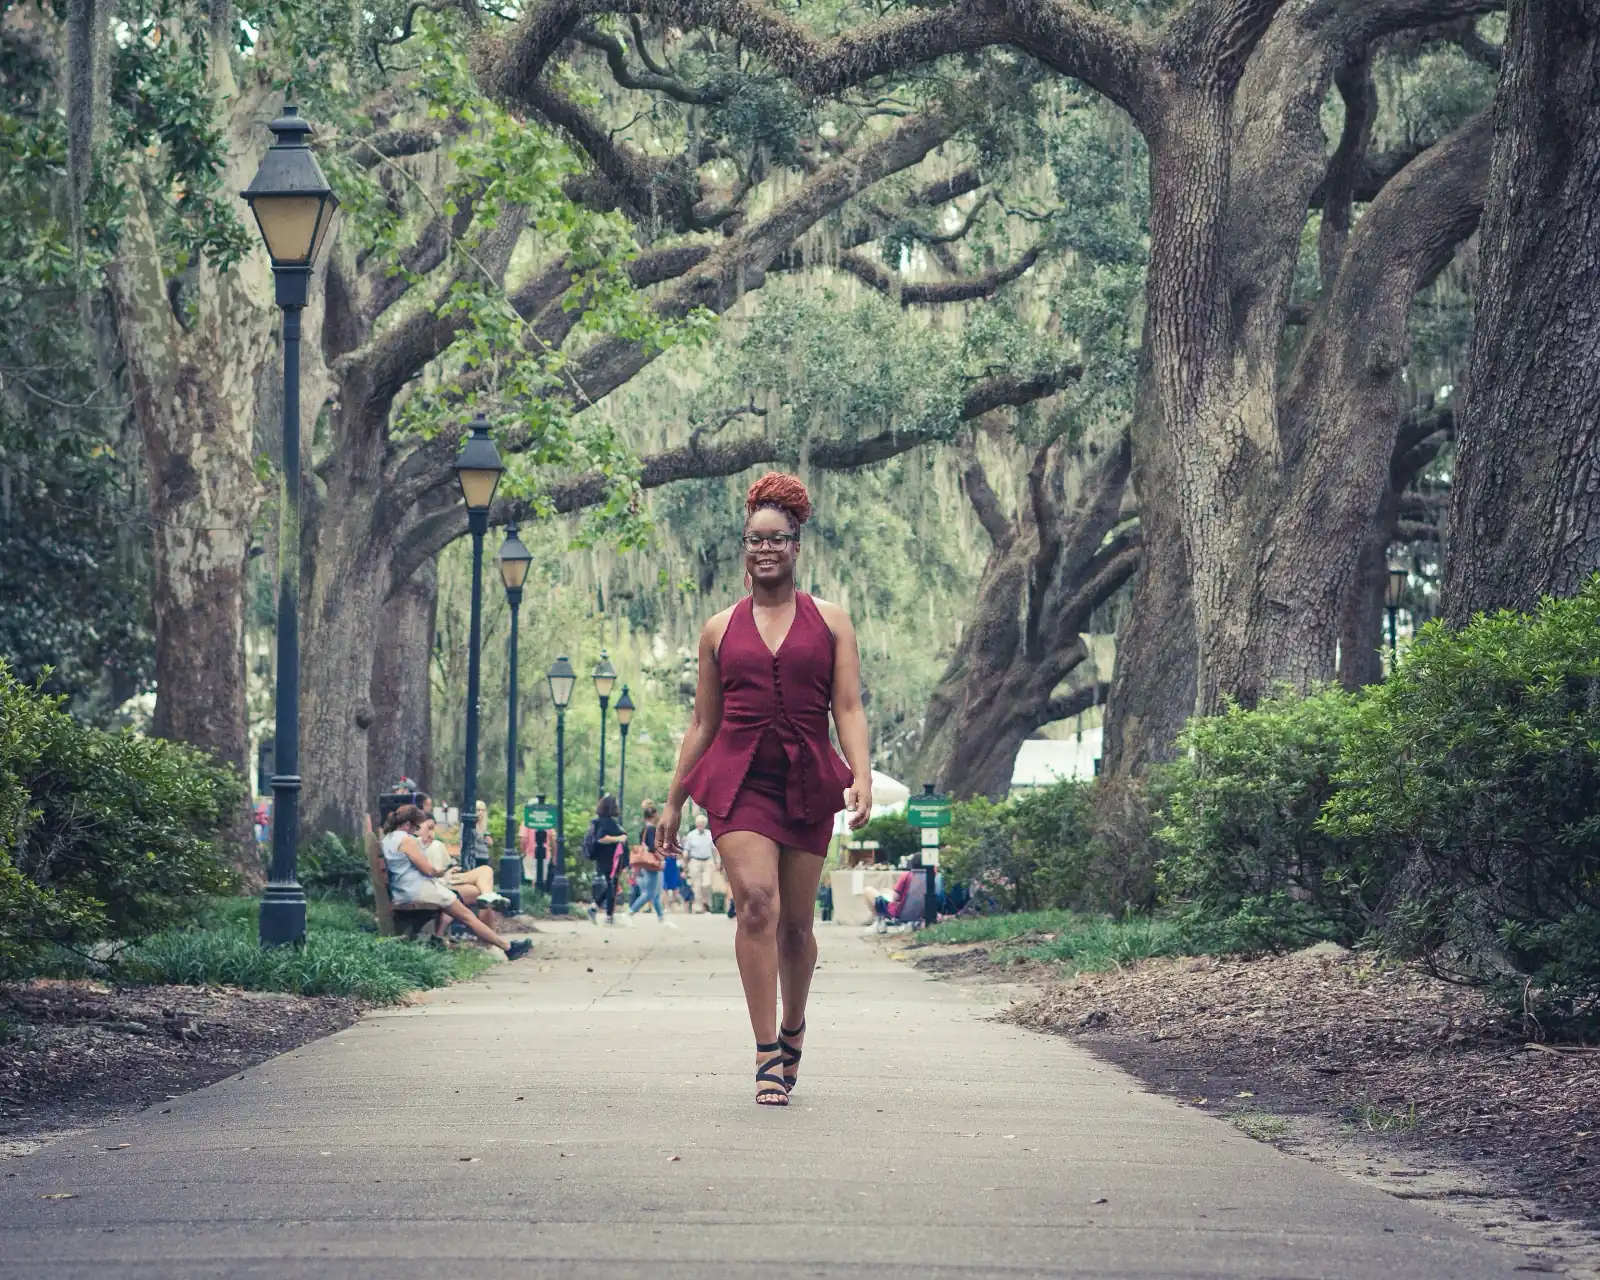
Movement is the fastest route to natural photo poses, because you can't hold a stiff face while you're doing something. Walk slowly toward the camera (slower than feels natural), look down or away for a few steps, then glance back at the lens. Or walk away from the camera and look back over your shoulder. Adjust a jacket, fix a sleeve, spin once, toss your hair or push your hands into your pockets mid-stride. The photographer shoots the transitions, and the transitions are where the best frames hide.
Camera angle and distance: the half of posing you don't control
Posing guides focus on the person in front of the lens. The person behind it matters just as much, and knowing what they're doing helps you pose better.
Distance
The Rutgers and Stanford selfie study makes the point clearly: at about 12 inches, the base of the nose looks around 30 percent wider and the tip around 7 percent wider than it does from 5 feet, which Rutgers' announcement calls a standard portrait distance. That's why phone selfies so often feel "off" and why professional portraits are shot from farther back, usually with a longer lens. If you're taking your own photos, step back and zoom in rather than holding the phone close.
Height
A camera slightly above eye level narrows the jaw and makes the eyes look larger. A camera at chest height looking up adds stature and presence, which is why it's common for full-length fashion shots, but it also shows more of the underside of the chin. Neither is right or wrong. Just know that if the camera drops, your chin needs to come forward and down even more.
What this means for you
You don't need to learn lens math. You do need to trust that a good photographer is choosing distance and height on purpose, and to ask "where should my chin be for this angle?" when the camera moves.
Poses for every kind of shoot
The principles above apply everywhere. What changes is the emphasis: the best photoshoot poses for a maternity session look nothing like the ones for a team headshot day. Here's a quick guide to the main subjects, with links to our detailed pose guides where they exist.
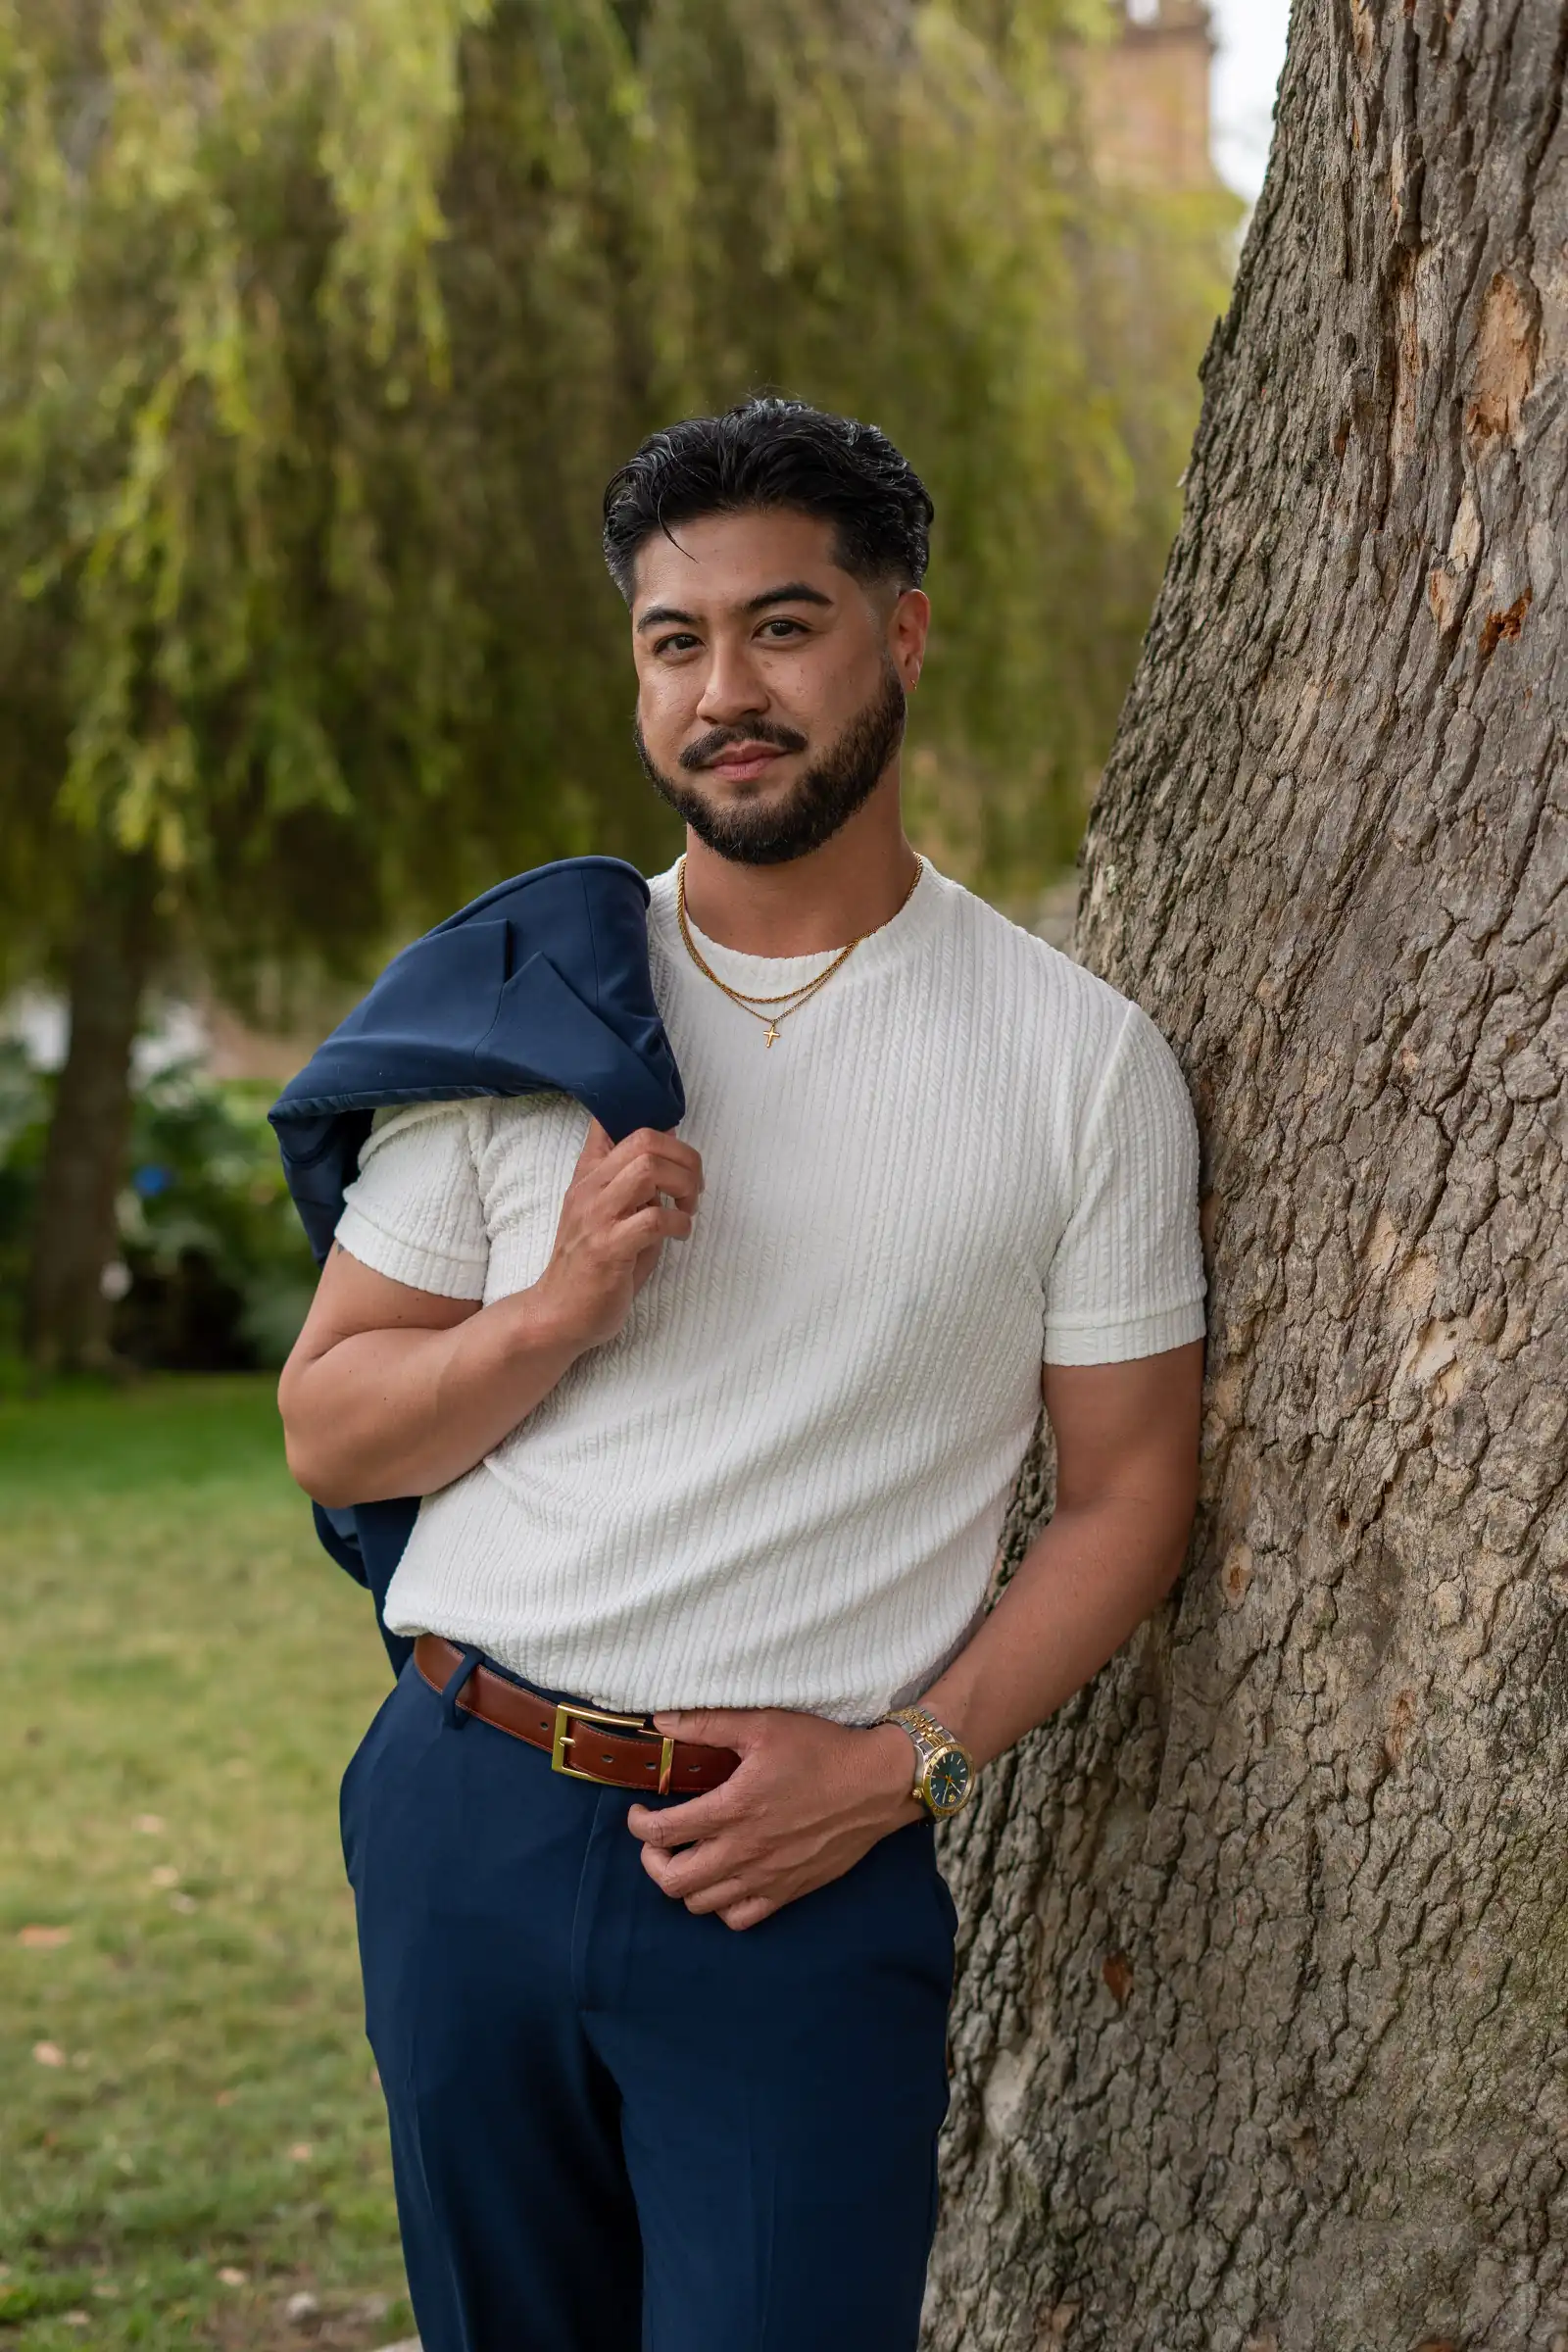
Poses for men
Men's poses usually lean on a slightly wider stance, straight lines and grounded weight: hands in pockets, arms loosely crossed, a shoulder against a wall, a jacket held over the shoulder, sitting forward with forearms on knees. Keep the chin forward and give the hands a clear job, since men tend to let them hang.
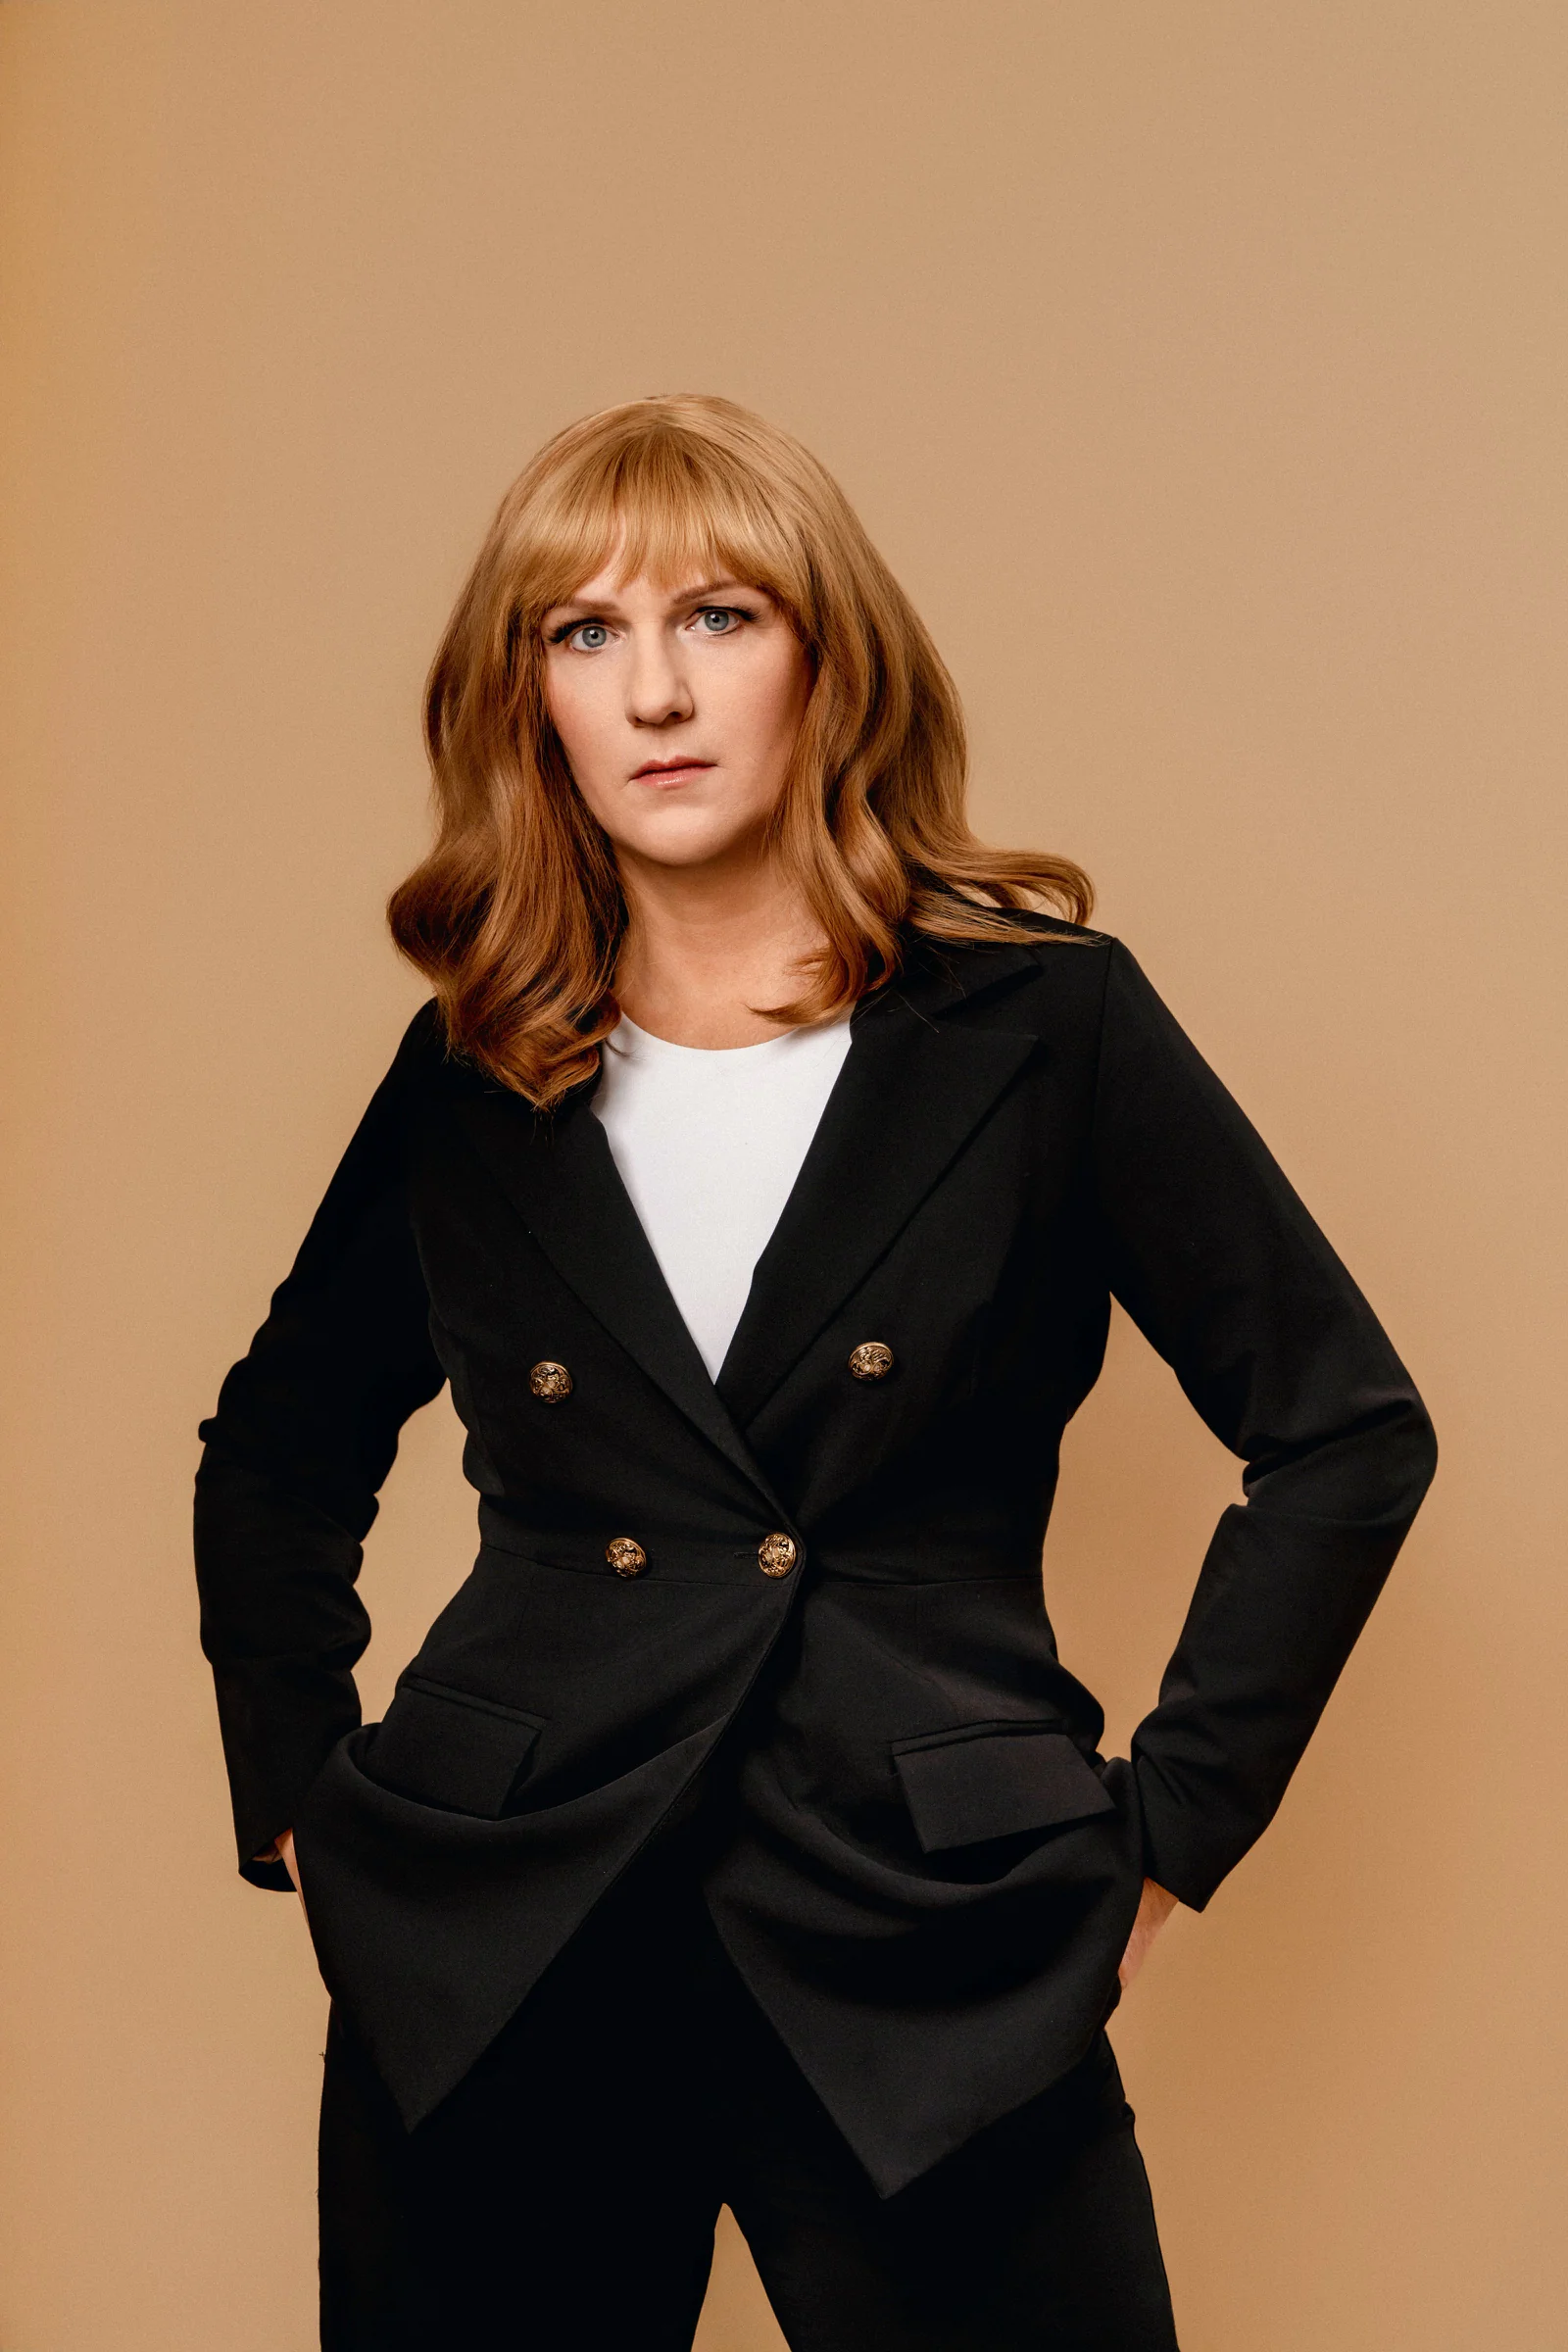
Poses for women
Women's poses often emphasize the S-curve: weight on one hip, a bent knee, arms away from the waist and plenty of movement, from twirls to hair touches. Pointing the front toe toward the camera lengthens the leg, and a hand lightly on the hip creates shape at the waist without looking forced.
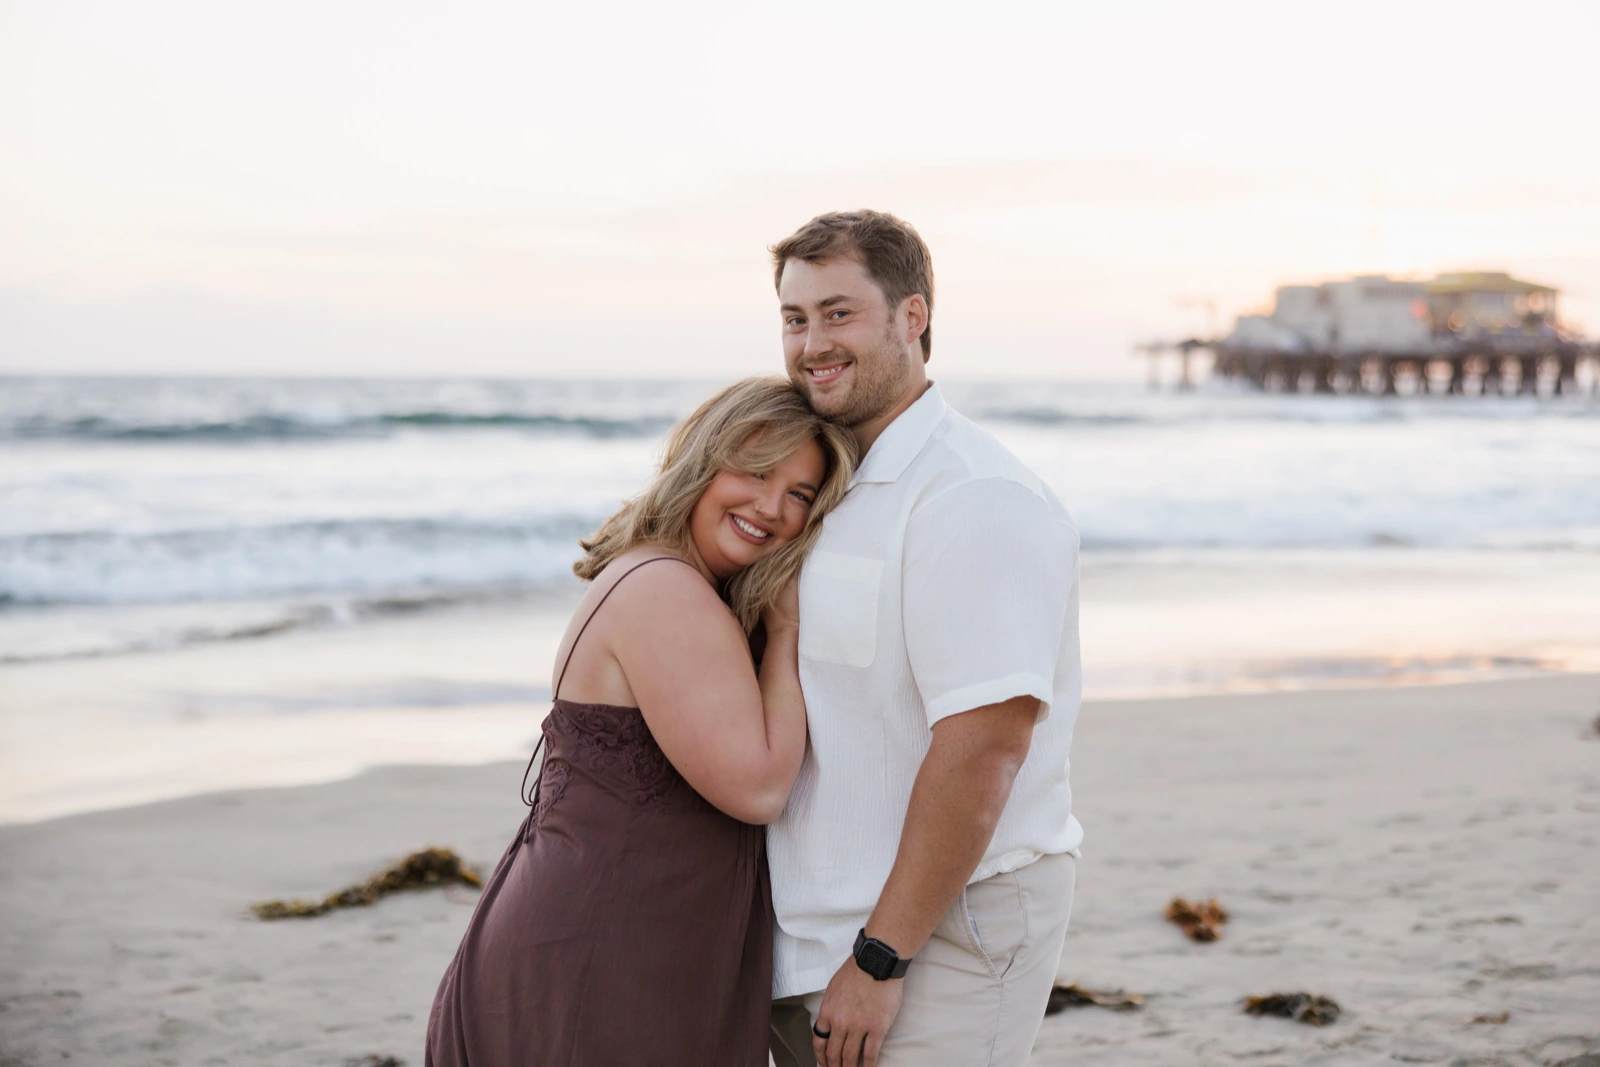
Couple poses
For couples, connection beats choreography. Walk hand in hand, lean foreheads together, whisper something ridiculous, or have one partner hug the other from behind. Close the gap between bodies, since a gap between two people reads as emotional distance in a photo. Engaged couples will find more ideas, ring shots included, in our engagement photo poses guide.
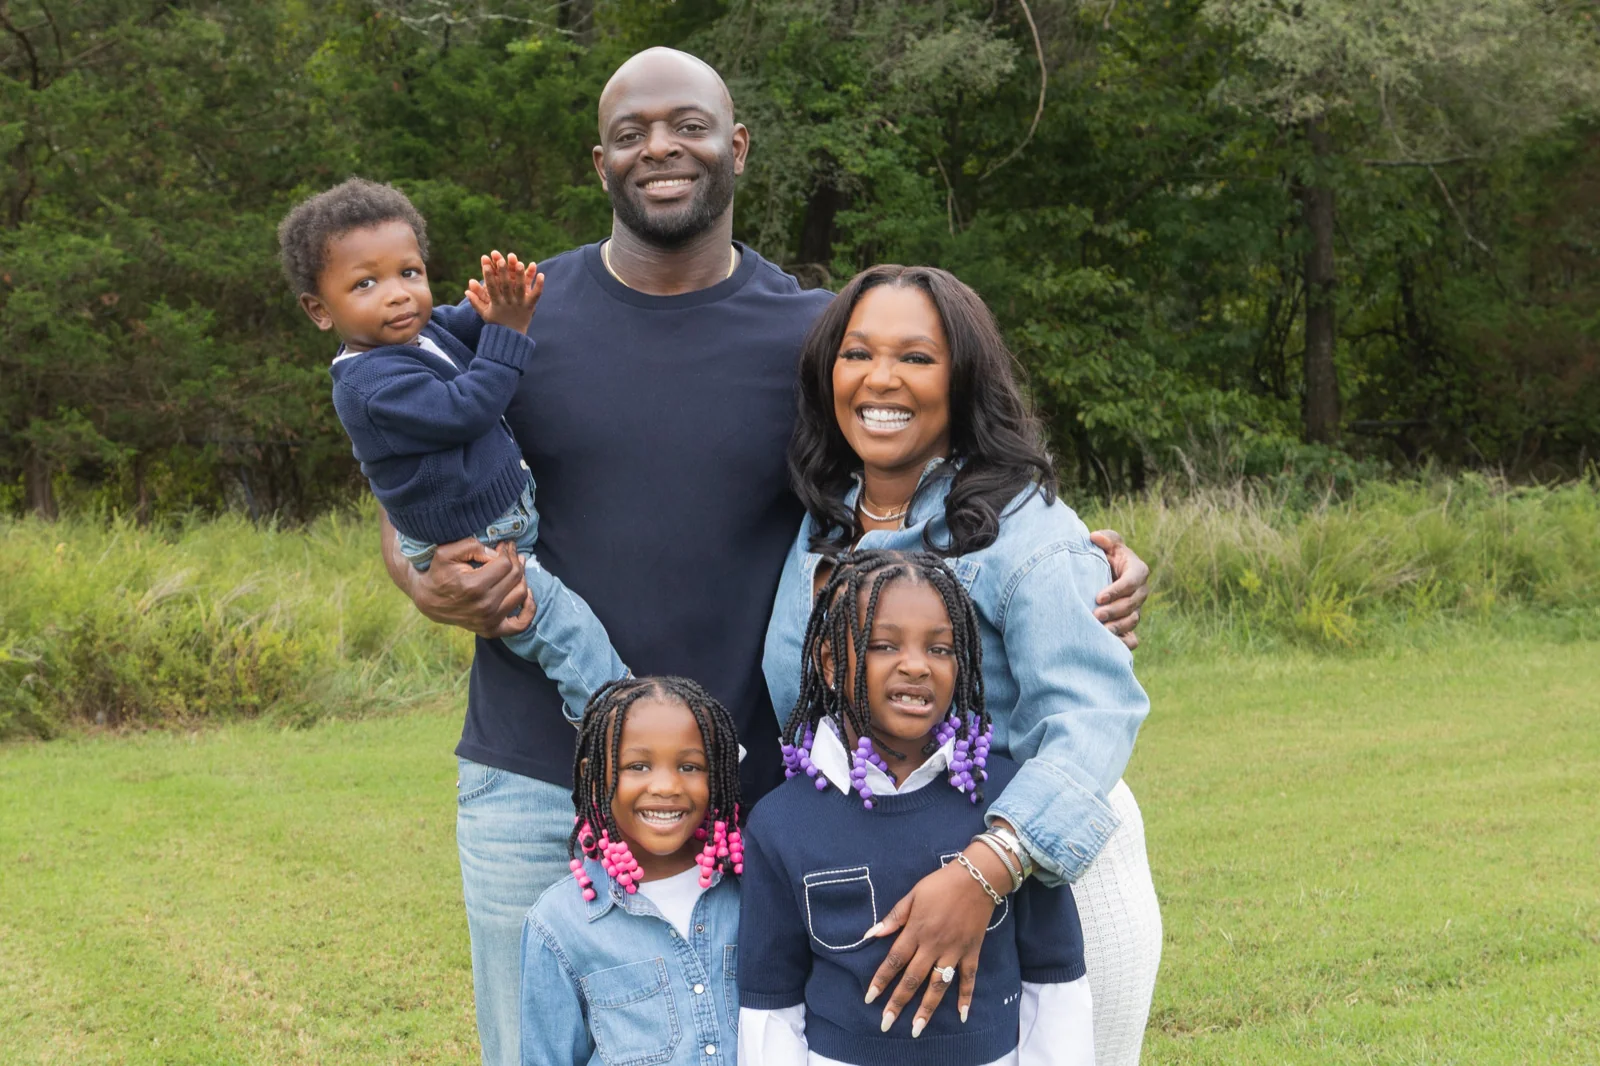
Family poses
Family photos work best when you pose loosely and let the kids set the pace. Get everyone close, at different heights, and touching: a hand on a shoulder, a child on a hip, siblings leaning into each other. Then play. Walking together, tickling, swinging a toddler between two parents and sitting in a heap on a blanket produce frames nobody could stage.
Group poses
Large groups need structure. Stagger heights so every face is visible (standing, leaning, sitting, kneeling), keep people close enough that shoulders overlap, and angle the people on each end in toward the center. Ask everyone to look for the lens with both eyes; if you can't see the lens, it can't see you.
Headshots
Headshots come down to the upper-body principles: shoulders angled, chin forward and down, and an expression that matches the job. A lawyer and a yoga teacher need different faces. Our headshot poses guide, linked above, covers standing and seated options and why "smile" is bad direction.

Maternity poses
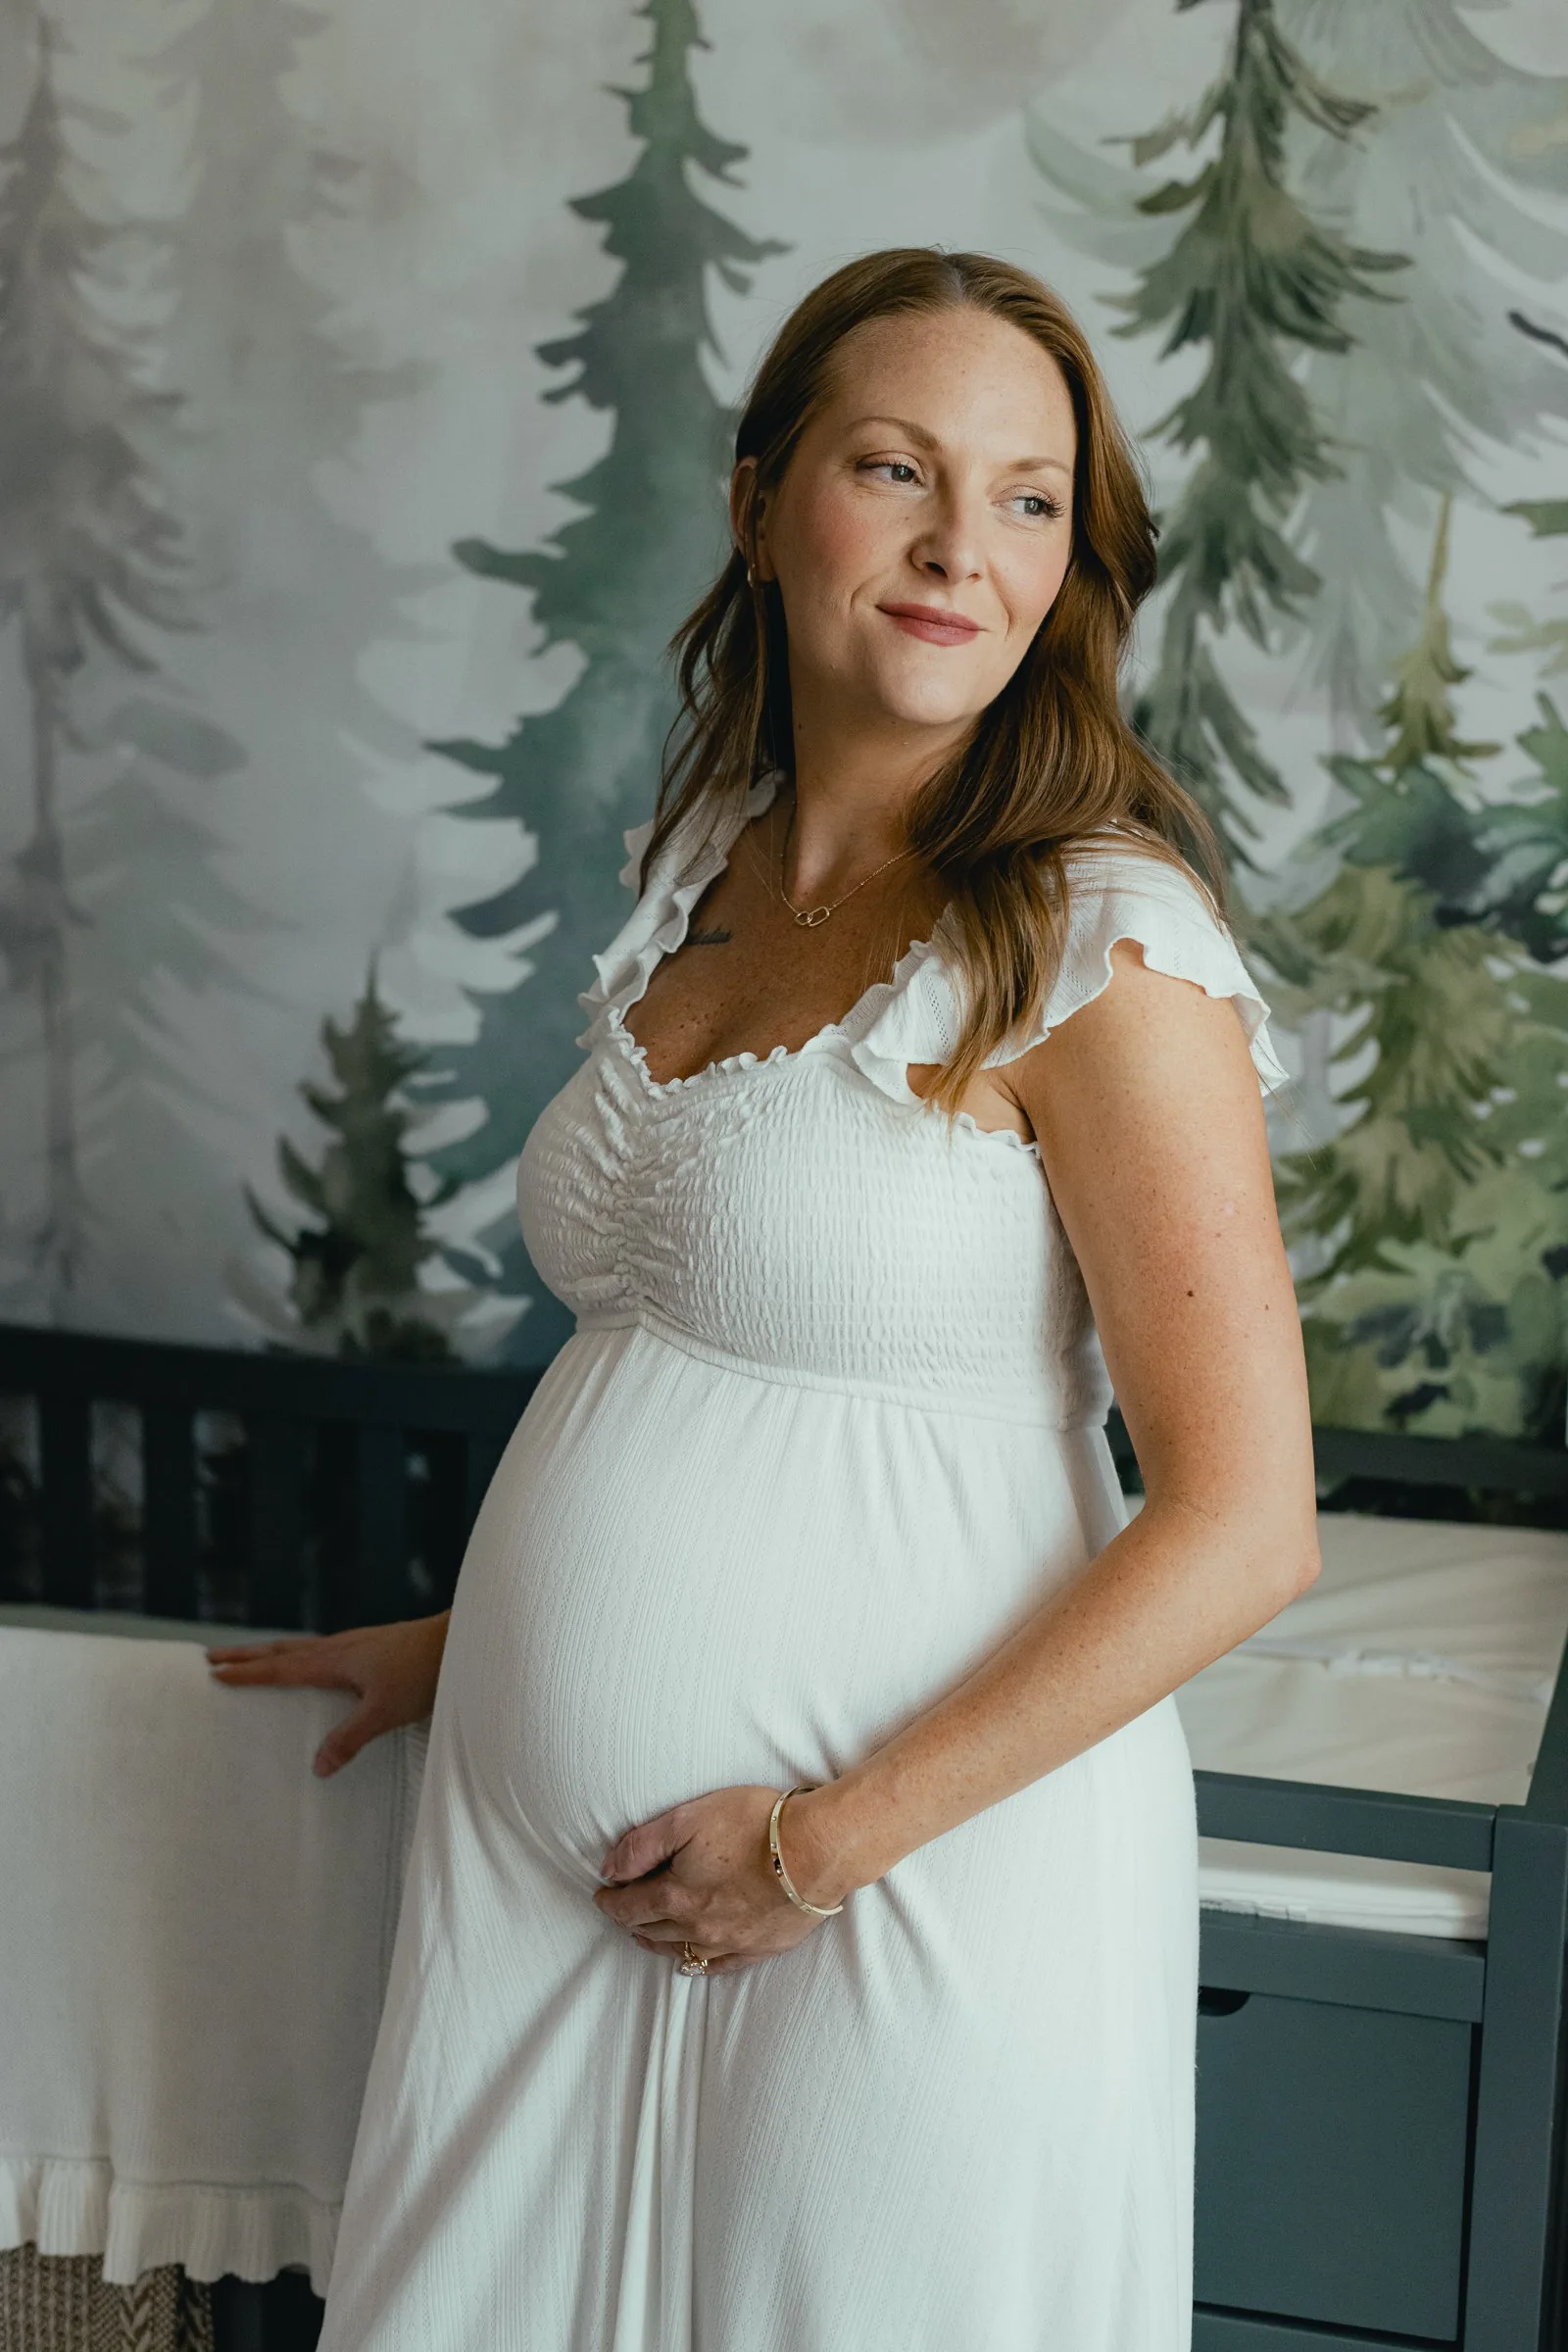
Maternity shoots are about framing the bump. Turn to the side to show its shape, rest hands softly above and below it, and bring a partner in behind for the embrace poses. Comfort sets the schedule, so plan plenty of seated and reclining options. Timing and poses are covered in our maternity photo poses guide.
Senior, graduation and prom poses
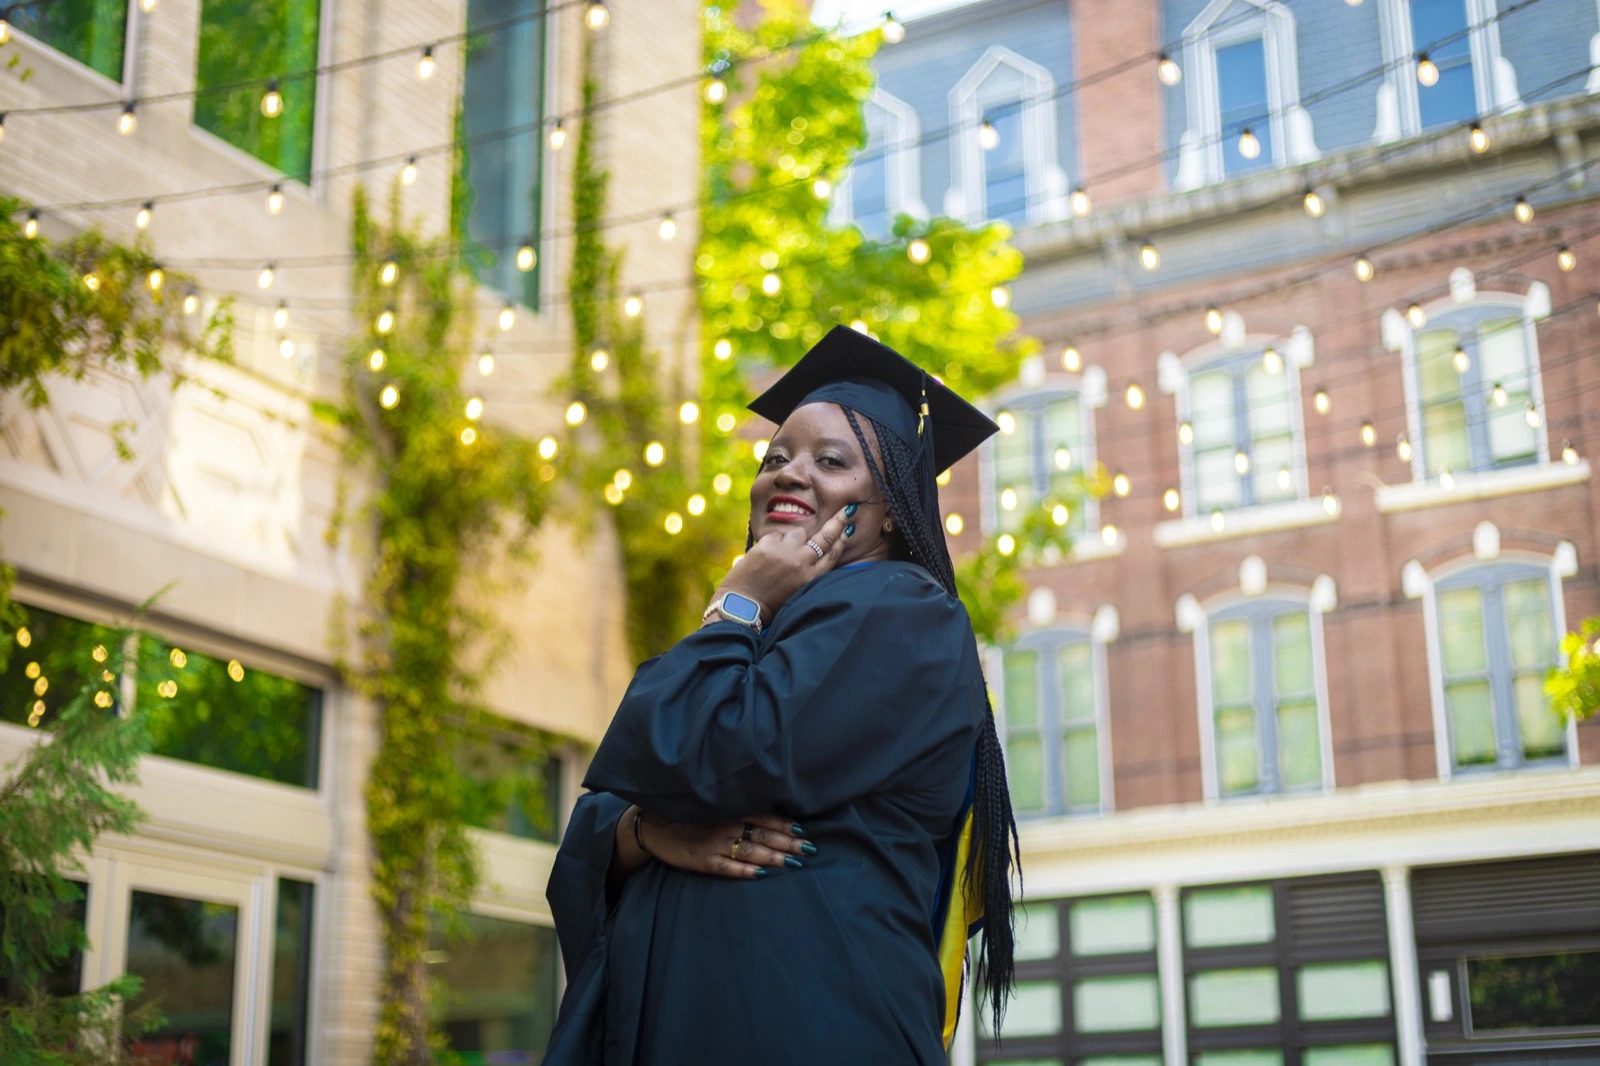
Milestone shoots share a problem: outfits that change how you move. A graduation gown hides the waist, so hands and props (the cap, a diploma, a tassel) do the work, as our graduation photo poses guide explains. Senior photo poses benefit from a meaningful prop and two or three outfit changes. And for formal wear, our prom photo poses guide covers solo shots in a gown or suit, couples and the big group photo.
Beach and outdoor poses
Beaches bring wind, glare and bare feet into the mix. Shoot near sunrise or sunset, face slightly away from the sun, and use the setting: walk along the waterline, sit on the sand with knees up, or let the wind move your hair and clothes. Our beach photoshoot poses guide has the full playbook, including timing and what to wear.
How to work with your photographer on posing
Even with every principle memorized, you'll pose better with good direction. The best sessions are a collaboration, and a little prep goes a long way.
Before the shoot
Save five to ten photos you love and send them to your photographer ahead of time. You're not asking them to copy the pictures; you're showing them the mood, framing and energy you want. Tell them what the photos are for (a LinkedIn profile, a holiday card, a dating app, a wall print) because, as Photofeeler's framing data shows, the right pose depends on the use. Mention anything you're self-conscious about, too. A photographer can work around a feature you dislike far more easily if they know about it before the shoot starts.
Practice in a mirror for ten minutes the night before. Find your 45-degree turn, test your chin position and figure out which side you prefer. It sounds excessive. It saves you the first twenty frames of the session.
During the shoot
Expect the first ten minutes to be warm-up. Nobody looks natural in the first few frames, and good photographers use that time to chat, test light and let you settle. Ask for direction whenever you feel lost; "what should I do with my hands here?" is a perfectly normal question. And keep moving between frames. Small shifts in weight, hands and gaze give the photographer dozens of slightly different options instead of one frozen pose repeated.
Choose a photographer who directs
Some photographers wait for you to pose. Others coach you through every frame. If you're nervous in front of a camera, you want the second kind. When you book through Snappr, you tell us when, where and why you're shooting, and Snappr matches you with a pre-vetted local specialist for portraits, families, graduations or events. You can book with as little as two hours' notice. The photographer brings the equipment, and edited photos arrive within 48 hours of the shoot.
Common posing mistakes and quick fixes
A few mistakes show up in almost every stiff photo. Here's how to spot them and what to do instead.
• Standing square to the camera: Wide, flat, boxy silhouette — Turn about 45 degrees and look back at the lens
• Even weight on both feet: Stiff, locked stance — Shift weight to the back foot and soften the front knee
• Arms pressed to your sides: Arms and torso merge into one shape — Bend the elbows and leave a small gap at the waist
• Chin lifted: Short neck, visible underside of the jaw — Forehead toward the lens, chin slightly down
• Held smile: Tight mouth, eyes not engaged — Use a prompt, laugh, then catch the frame just after
• Gripping props: Tense fingers, white knuckles — Touch lightly and show the side of the hand
• Holding one pose too long: Expression goes flat — Move, reset and come back to the pose
Book a photoshoot and let a pro handle the posing
You now know more about photo poses than most people who step in front of a camera. The fastest way to put it into practice is a session with a photographer who knows how to direct, so you can focus on being yourself while they handle angles, light and timing.
Book a professional photoshoot with Snappr and get matched with a vetted local photographer for portraits, families, couples, graduations and more.
Frequently asked questions
What are the best photo poses for beginners?
Start with three: stand at about a 45-degree angle to the camera with your weight on your back foot, lean against a wall with your hands in your pockets, and walk slowly toward the camera while looking away and then back. All three work for any body type and hide the stiffness most beginners feel.
How do I look natural in photos?
Move instead of holding still, and let the photographer catch the in-between moments. Use prompts or a genuine laugh rather than a held smile, since genuine smiles usually last only a few seconds. Relax your shoulders, breathe out before each frame, and keep a little space between your arms and body.
What should I do with my hands in photos?
Give them a light job. Put a thumb in a pocket, hold a jacket lapel, touch your collar, rest a hand on a railing or hold a coffee cup. Keep the touch soft, show the side of the hand instead of a flat palm or fist, and avoid letting both arms hang straight down.
How do I find my best side for photos?
Take a few test shots of each side in similar light and compare them. Research by Michael Nicholls and colleagues found that portraits more often show the left cheek, and that people tend to turn their left side forward when they want to look expressive and their right side when they want to look composed. Use that as a starting point, then trust what you see.
Which photo poses work for every body type?
The 45-degree turn, the back-foot weight shift, arms slightly away from the body and chin forward and down are universally flattering because they add depth and definition. Sitting toward the front edge of a chair with a long back works well too. A good photographer will adjust from there based on your shape and the shot.
How do I prepare for a photoshoot if I'm awkward in front of the camera?
Send your photographer a few reference photos, tell them what the pictures are for, and practice your basic stance in a mirror the night before. On the day, expect a short warm-up, ask for direction whenever you need it and keep moving between frames. Booking a photographer who actively directs makes the biggest difference of all.
Sources
1. Princeton University, Willis and Todorov, "First impressions: Making up your mind after a 100-ms exposure to a face," Psychological Science, 2006: trait judgments after a 100-ms exposure correlated highly with untimed judgments
2. Rutgers University, "Selfies Drive Self-Image and May Lead Many to Seek Plastic Surgery," March 2018: Rutgers-Stanford model in JAMA Facial Plastic Surgery; at about 12 inches the nasal base appears about 30% wider and the tip 7% wider than at 5 feet
3. Photofeeler, "New Research Study Breaks Down 'The Perfect Profile Photo'": 60,000+ ratings of 800 photos; teeth smile +1.35 likability; closed-mouth smile about half; laughing +1.49; jawline +0.24 competence; face-only -0.21 likability; full body -0.29 competence and influence
4. Photofeeler, "This Simple Tweak Will Make You Look More Confident in Photos": squinching +0.33 competence and +0.37 influence on a -5 to +5 scale; squinch popularized by Peter Hurley
5. Mignault and Chaudhuri, "The Many Faces of a Neutral Face: Head Tilt and Perception of Dominance and Emotion," Journal of Nonverbal Behavior, 2003: 64 participants; bowed head read as submissive and sad, raised head as dominant, proud and happy
6. Nicholls, Clode, Wood and Wood, "Laterality of expression in portraiture: putting your best cheek forward," Proceedings of the Royal Society B, 1999 (PubMed Central): left-cheek bias in portraits; left side presented for emotional family portraits, right side when posing as scientists
7. Paul Ekman Group, "Fake Smile or Genuine Smile?": Duchenne's 1862 observation that the orbicularis oculi is recruited in genuine but not posed smiles
8. Association for Psychological Science, Observer, "The Psychological Study of Smiling": genuine smiles typically last from two-thirds of a second to four seconds


