
Most advice on how to photograph events opens with a gear list. That is the wrong end of the problem. The photographers who deliver usable coverage every time are the ones who know what the client needs before they arrive, where the light falls, and which three moments cannot be missed.
This guide runs from the first conversation with the organizer through to final delivery: what to agree in advance, what to pack, the settings that survive a dim function room, and how to hand over images while they are still worth something. The twelve tips are grouped by when you use them.
What Event Photography Covers
Event photography is documentary coverage of a gathering as it happens, delivered as a set of edited images recording the people, the moments and the setting. It differs from portrait or product work in one way that shapes everything else: you cannot direct most of it, and you cannot ask for a second take.
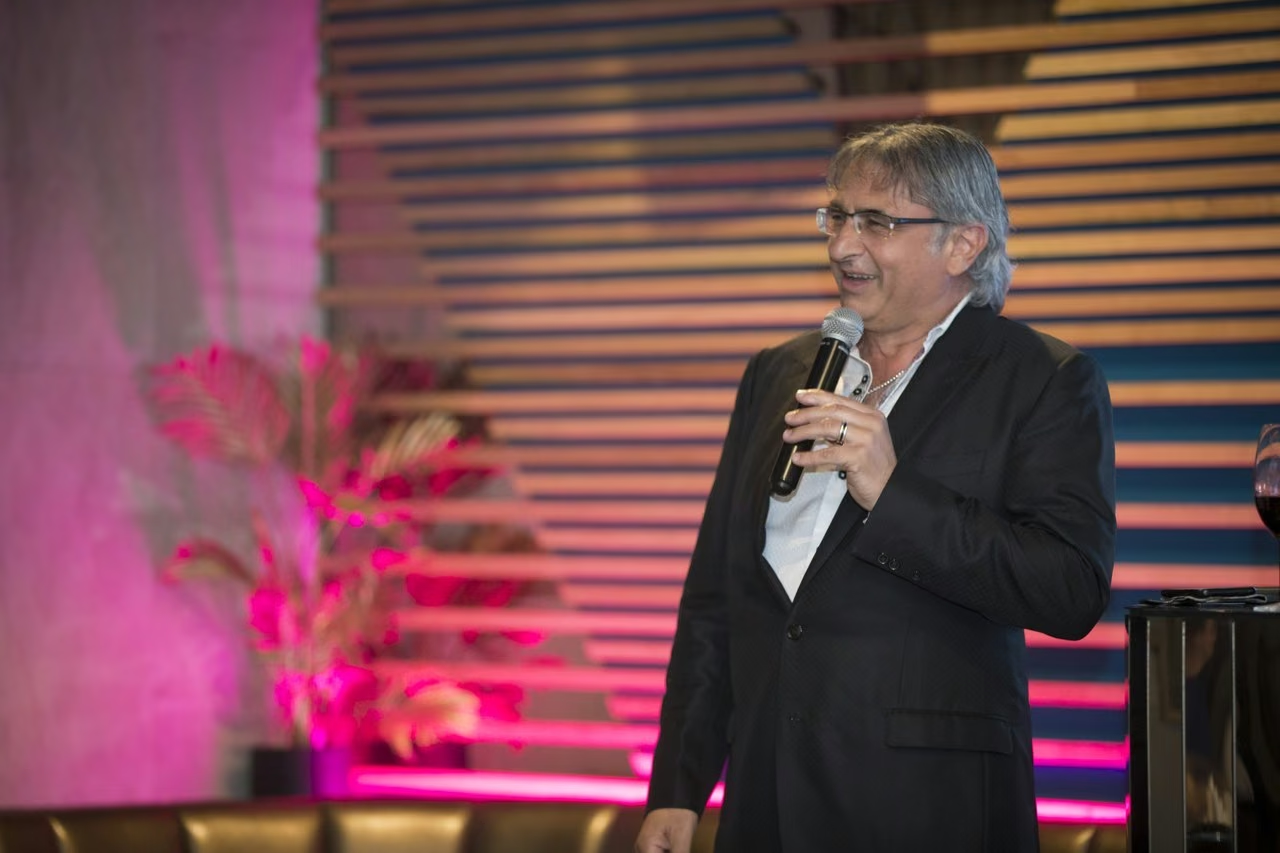
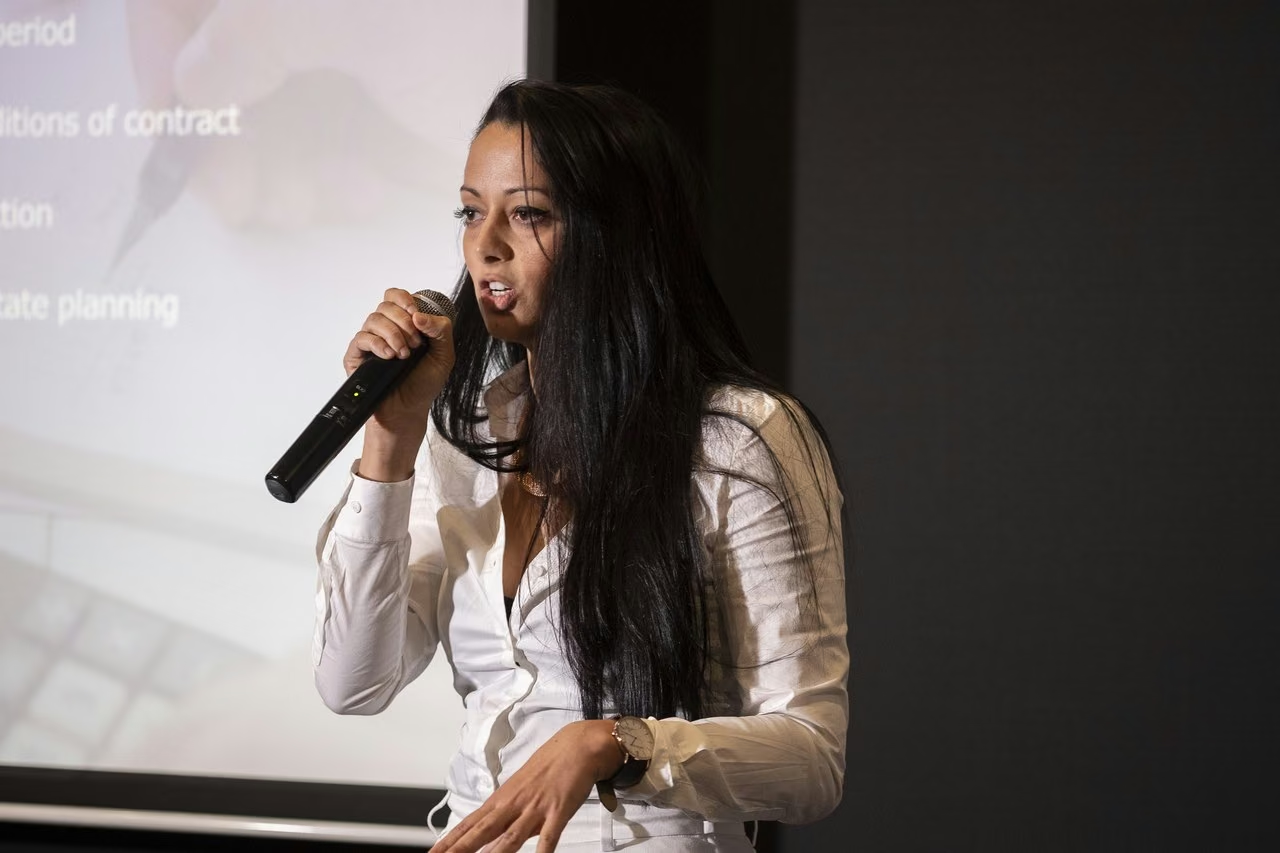
The category spans a wide range. Conferences and trade shows need speakers, panels, branded signage and candid networking. Award nights and galas revolve around a small number of unmissable moments. Company parties and social gatherings are almost entirely about expressions and interaction, which is why a holiday party photographer works to a different brief than a conference shooter.
Corporate work carries the most specific requirements, because the images usually feed marketing, recruitment and internal communications rather than a personal album. Sponsors expect visible branding and the marketing team expect a set they can use across a campaign, not a folder of snapshots. If that is the job in front of you, the corporate event photographer checklist covers those commercial expectations in detail.
Before the Event
Most of what separates competent coverage from a disappointing gallery is decided before the first guest arrives.
1. Agree the Shot List With the Organizer
Ask the organizer for a written list of must-have shots and build it with them rather than guessing. It should name the people who have to appear, the moments that cannot be missed, any sponsor signage that needs to be visible, and anyone who should not be photographed at all.
Ten minutes on this saves hours of uncertainty and protects you afterwards. When a client says the coverage missed something, an agreed list is the difference between a discussion and an argument. Organizers have firm views here, and how top event managers get the best photos covers what they expect from the photographers they book.
2. Scout the Venue Before Guests Arrive
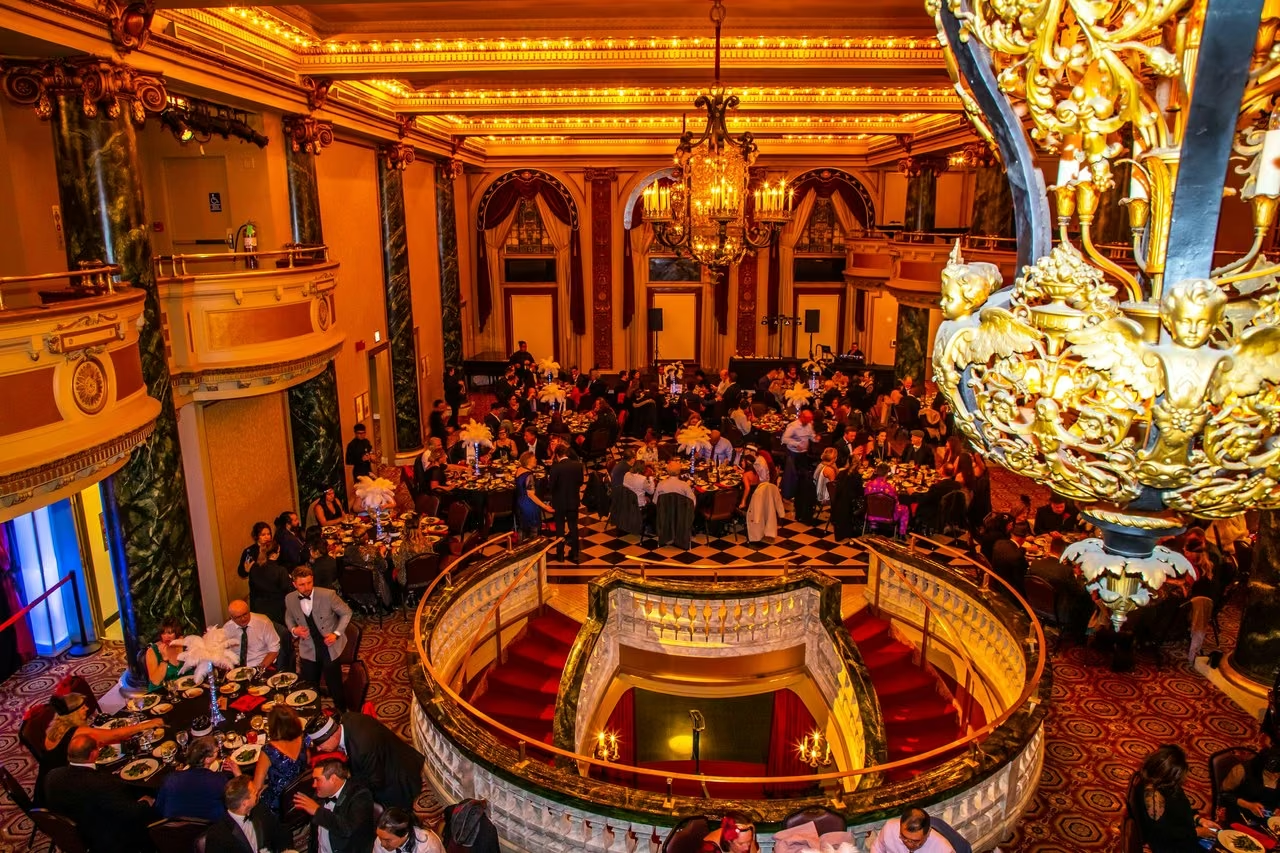
Arrive at least thirty minutes early and treat that half hour as working time. Walk the room, find where the light comes from and how it changes, then pick the positions you will shoot speeches and group shots from. Check what sits directly behind them, because a fire exit sign or a stacked chair trolley ruins an otherwise good frame.
Take your test shots then, not once the room is full. Photograph the empty venue properly too. Organizers frequently want the setup, the branding and the table settings before anyone touches them.
3. Pack for the Darkest Room in the Building
Event venues are dim, and the single most useful decision is a fast lens. The best lens for event photography is usually a 24-70mm f/2.8 zoom, which covers wide context and tight portraits without a change, plus a fast 35mm or 50mm prime for the darkest corners. A 70-200mm f/2.8 earns its weight on speeches and stage moments shot from the back of the room.
Take more batteries and cards than the schedule suggests, and use a body with two card slots if you have one. An event cannot be reshot, so a card failure with no second copy is unrecoverable.
4. Confirm Permissions and Access Zones
Establish before the day where you can go, whether a media pass is required, and whether any part of the event is closed to photography. Ceremonies, keynotes and anything involving minors usually carry restrictions.
Agree how the images may be used and by whom, in writing. Organizations booking coverage for business events intend the photos to become long-term brand assets, so usage rights and crediting belong up front rather than after delivery.
During the Event
5. Dial In Settings for the Room You're In
Aperture priority is the sensible default, because the light changes faster than you can meter for it. Set your aperture, cap auto ISO, and set a minimum shutter speed so the camera never drops below the point where hand-held frames go soft.
Use the reciprocal rule as your floor: at 50mm, do not drop below 1/50 second. People move more than you expect, so start higher. These are reliable starting points for the rooms you will meet most often.
Shoot RAW. Event lighting is frequently mixed, with tungsten uplighting, LED stage wash and daylight through a window all in one frame, and RAW is what lets you correct that white balance later instead of delivering a room full of orange faces.
6. Know When to Use Flash and When to Put It Away
Direct on-camera flash flattens faces and announces you to the room. When you need it, bounce it off a white ceiling or a wall behind you and add a small diffuser, which keeps the result looking like the room rather than like a flash.
Some situations are simply no-flash. Stage performances, ceremonies and award presentations all suffer from it, and many venues will ask you to stop. Open the aperture, raise the ISO and accept a little noise, which is far easier to fix than a flash burst through a keynote.
7. Change Focal Length to Change the Story
A gallery shot entirely at one focal length looks monotonous however good the individual frames are. Wide, 24mm to 35mm, establishes the venue and the scale of the crowd. Standard, 50mm to 85mm, is where candid portraits live, with enough separation to lift a face out of a busy background.
Longer, from 135mm upward, compresses the background and lets you photograph events from far enough away that people forget you are there. Vary your height too. A crowd shot from slightly above and a dance floor shot from low down are two different pictures of the same room.
8. Shoot for Expressions, Not Coverage
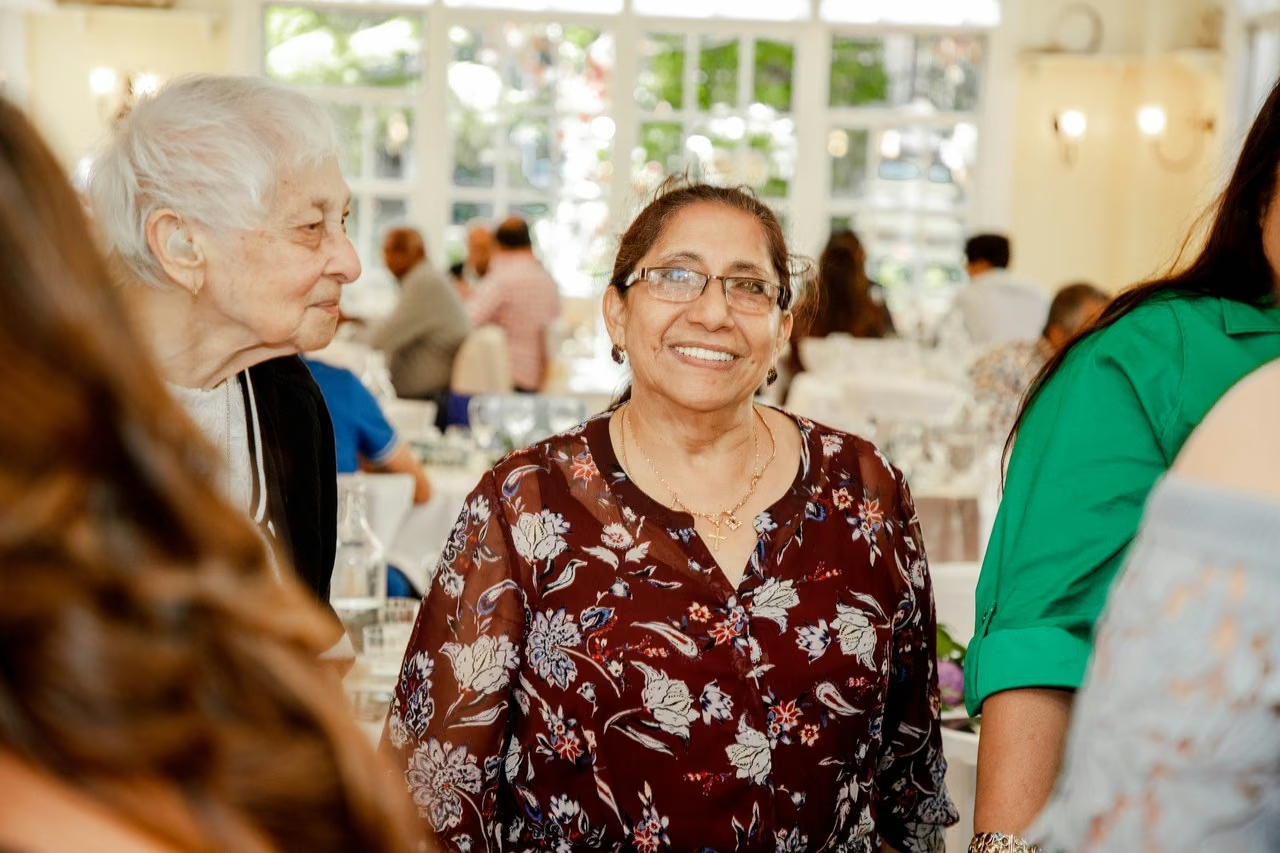
Environmental and detail shots matter, but they are context. The frames a client remembers hold a real reaction: the laugh during a speech, the handshake that means something, the moment an award lands.
That means waiting. Set up on a moment you can see coming and hold position through it rather than firing once and moving on. Posed group shots still have a place, particularly for sponsors and leadership, so do not avoid them out of a preference for candids. Just do not let them become the gallery.
It is also what makes the set useful afterwards. Usability research on photos as web content found that people scrutinize information-carrying images and ignore purely decorative ones. A frame with a real reaction in it does work that a well-composed empty room never will.
9. Stay Invisible
Dress to match the event, in neutral colors, so you read as staff rather than a guest or an intrusion. Move around the edges of the room instead of through the middle, and never cross a sightline during a speech.
Use a silent or electronic shutter when the room is quiet. Good event photographers are remembered for their images, not for the noise they made getting them.
After the Event
10. Back Up Before You Leave the Venue
Copy the cards to a laptop or portable drive before you pack the car, and format nothing until there are two copies in two places. It is the least interesting habit in event photography and the one that saves careers.
11. Cull Ruthlessly
Clients want quality, not volume. Three hundred strong images serve them better than a thousand that make them do the editing themselves.
Cut anything with a blink, motion blur where you did not intend it, or a half-closed eye. Cut the frames where someone is mid-sentence and their expression has gone slack, and cut every shot of a guest with food in their mouth or a fork on the way to it. Nobody has ever asked for those, and including them makes an otherwise professional gallery feel unedited.
Culling by hand is the slowest part of the job. AI photo editing tools now handle the first pass, rejecting the obvious failures so your time goes on the frames actually in contention.
12. Edit and Deliver While the Event Still Matters
Event images have a short shelf life. A conference gallery delivered three weeks late has missed the recap email, the social posts and most of the reason it was commissioned. Agree a turnaround before the event, and send a small same-day selection for social while the full set is in progress.
Keep the editing consistent across the set rather than treating each frame as a separate project. A gallery whose white balance shifts between rooms reads as unfinished even when every individual image is good.
If the images are going onto a website, export them at sensible dimensions in a modern format. Google's image guidance is explicit that file size, naming and markup affect whether photographs are found in search at all.
When Not to Photograph Events Yourself
There is a point where learning how to photograph events in-house stops making sense. One photographer cannot cover a keynote and a breakout session at once. A multi-city program needs consistent output across venues and shooters. And a marketing team that needs images live during the event has a scheduling problem, not a photography problem.
Decide early whether you need video alongside stills. The two are far cheaper to capture together than to commission separately, and the shot list changes when both are being shot at once. The economics are set out in event videography that pays for itself.
That is the case for booking professionals rather than absorbing the work internally. Snappr matches you with a photographer or videographer, handles editing and quality assurance, and delivers finished photos and videos within days, not weeks. Coverage runs across virtually any city, which is what turns a multi-location program into consistent output instead of unrelated local bookings.
If you would rather hand the whole problem over, book a shoot and have a professional on site with the brief already agreed.


